Anyone can simply import a 3DEXPERIENCE SOLIDWORKS part or assembly model into 3DEXPERINCE SOLIDWORKS Visualize and hit render. Will the results look great, possibly? To improve your chances of success, here’s a few tips and tricks that will help guide you to creating realistic renders in 3DEXPERIENCE SOLIDWORKS Visualize.
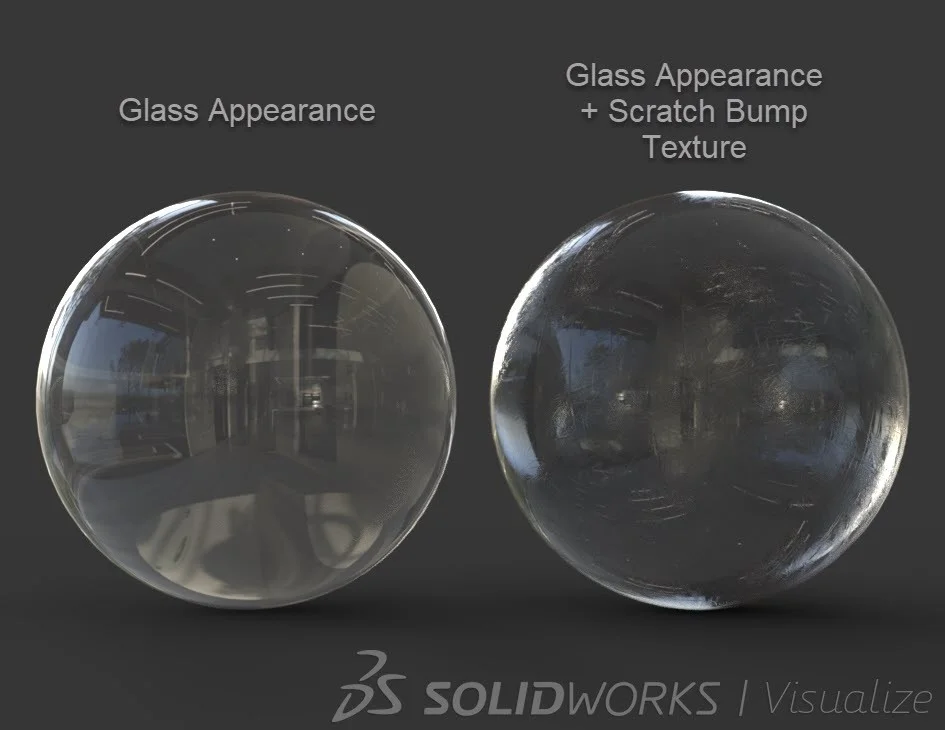
- Appearances and Textures – both appearances and textures play a crucial role in making your model look interesting and feel more realistic. If you look closely at any object in the real world, every object has a texture finish to it.
Example: glass table, you will often see imperfections such as scratches and dust.
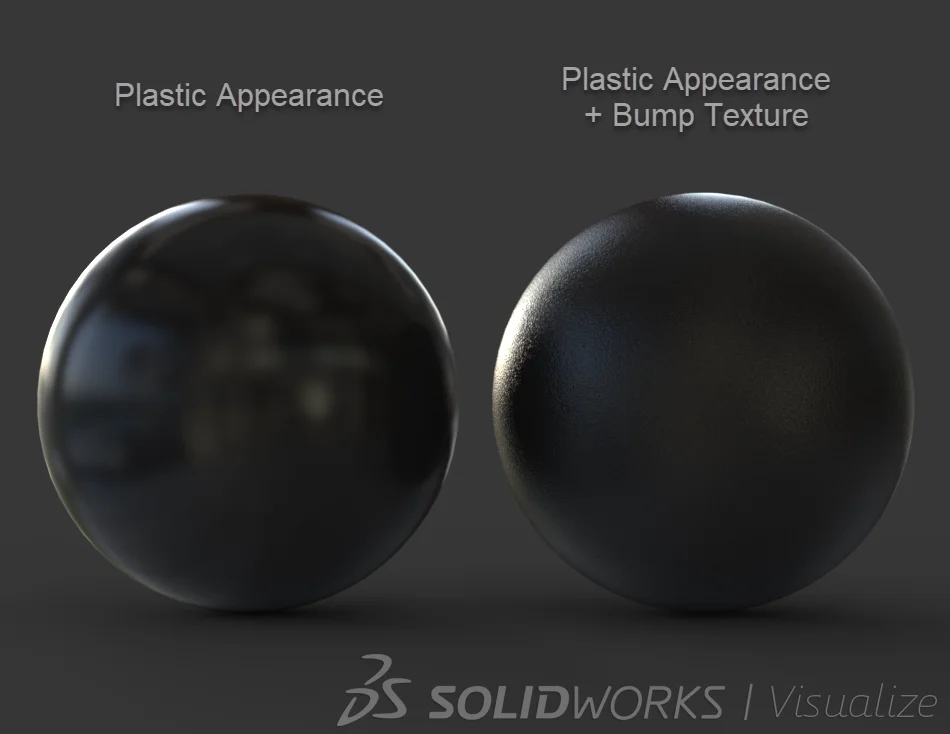
If you look at your keyboard or computer mouse, it will more than likely have a plastic rough-textured finish to it.
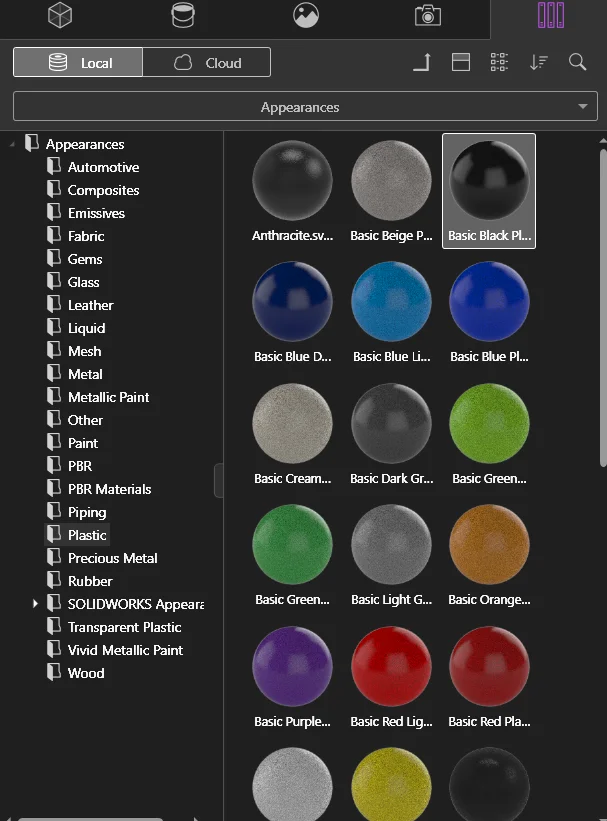
Try using the stock appearances library content that comes with SOLDIDWORKS Visualize as a starting point. SOLIDWORKS Visualize offers hundreds of stock appearances to select from.
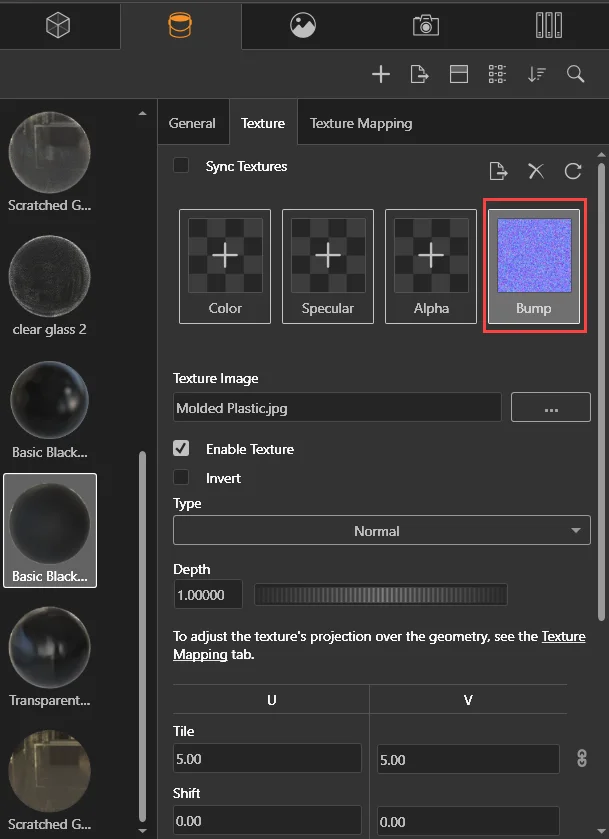
Then, in the Palette > Appearances tab, select the applied appearance and add a bump or displacement map texture to bring your design to life.
Once you get a hang of editing and creating SOLIDWORKS Visualize appearances, take it the next level with Physically Based Rendering (PBR) materials. Read more about it here.
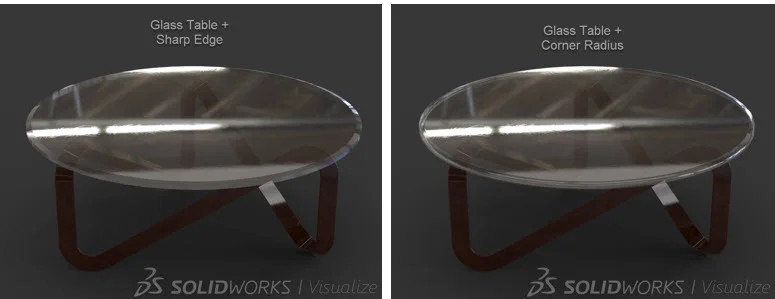
- Rounded Edges – sharp edges on any model is a dead giveaway for unrealistic render.
Often times it is recommend to add a bevel to all sharp edges in 3DEXPERIENCE SOLIDWORKS before importing into 3DEXPERIENCE SOLIDWORKS Visualize. However, to save time 3DEXPERIENCE SOLIDWORKS Visualize has a feature called “Corner Radius,” to help round the unwanted sharp edges for more realism.
- Camera Composition – Choosing the right camera composition is key to making a successful photorealistic render.
3DEXPERIENCE SOLIDWORKS Visualize provides several camera features that will help you determine the best composition to capture the viewer’s visual attention.
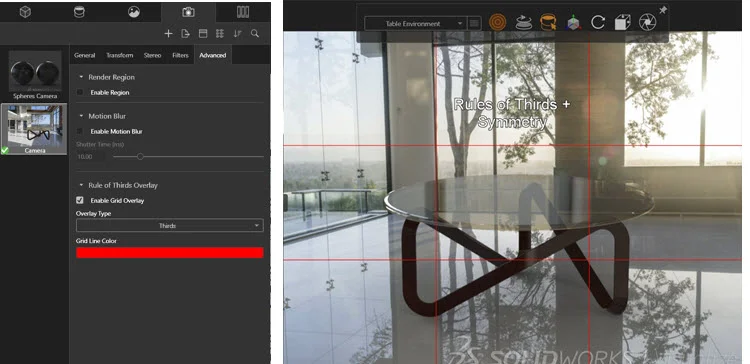
The Cameras “Rules of Thirds Overlay,” is a great starting point to help place your camera and model in interesting ways. Symmetry is a key balance to naturally appealing to the viewer’s eye. Sometimes having the same amount of negative space on each side of a model can help.
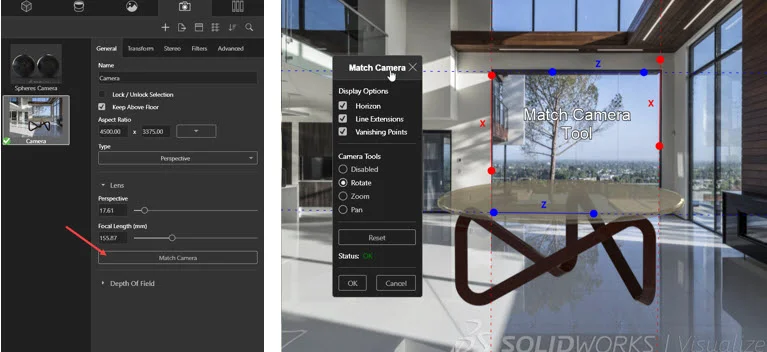
Match Camera is a fantastic feature for matching the cameras perspective with a backplate image. The Match Camera tool can be activated by selecting the camera in the Palette > Cameras tab, then under the General sub tab, then select “Match Camera.”
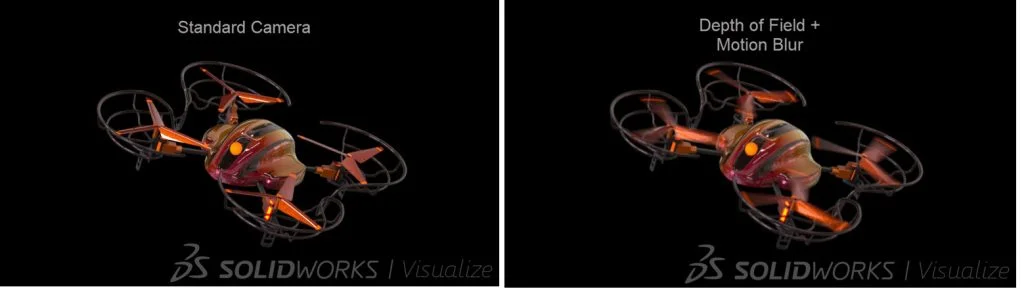
Depth of Field and Motion Blur are other key features to 3DEXPERIENCE SOLIDWORKS Visualize cameras that will help add realism to your image and tell deeper story.
- Lighting the Scene – properly illuminating the scene significally brings out various details of the model with realistic reflections, refractions and soft shadows. Without proper lighting your rendering will look unappealing and boring.
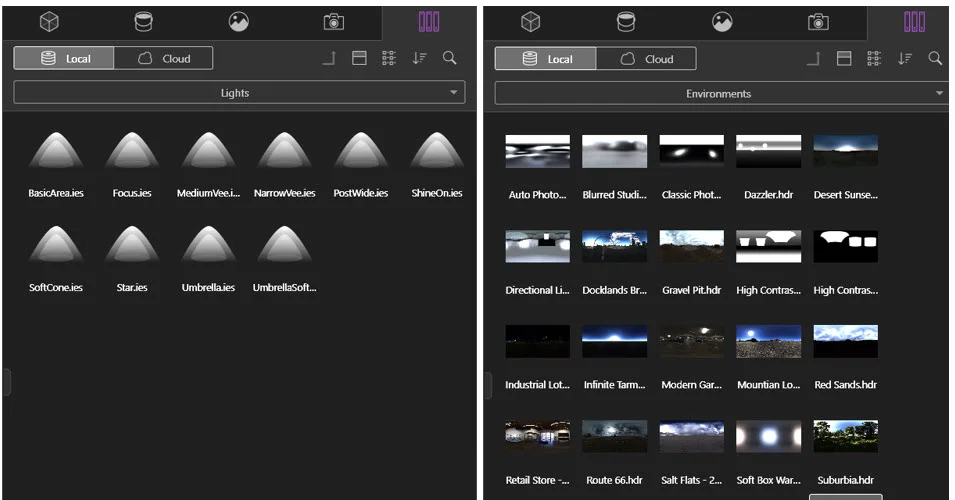
SOLIDWORKS Visualize offers different ways of lighting your scene. High Dynamic Range (HDR) environments, physical lights (Area, Directional, Spot and IES Profiles) and Emissive Appearances.
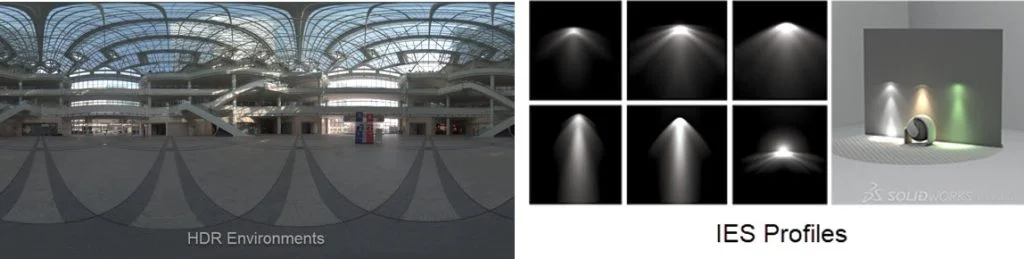
Best of all, SOLIDWORKS Visualize library content offers a variety of lighting content to select from.
I hope these tips and tricks help guide you to creating realistic renders in 3DEXPERIENCE SOLIDWORKS Visualize. You can also catch my session on Deep Dive into SOLIDWORKS Visualize Latest Features at the upcoming 3DEXPEREINCE World 2023 taking place in Nashville, Tennessee February 12-15, 2023. You can now register here.