
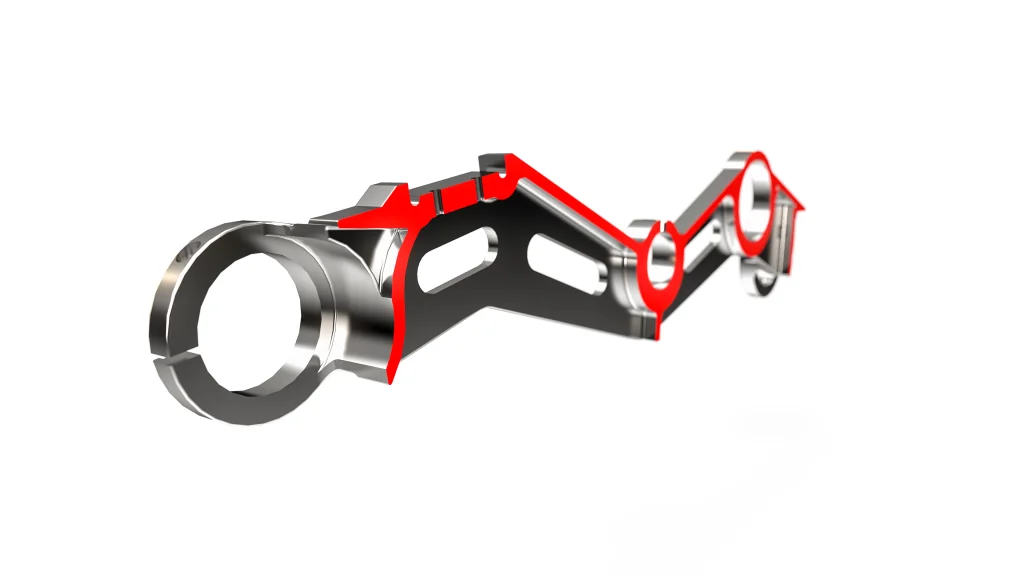
While the final touches to the design of the DTV Shredder was wrapping up; many of the components had already been released for manufacturing. Two of these components are the complex track arms on either side of the vehicle that the track system mounts to.
To get ahead of schedule, we can start working on the manufacturing and NC programming for these components well in advance of the project being complete. For this task, we’ll leverage NC Shop Floor Programmer on the 3DEXPERIENCE Platform; best in class NC software developed by DELMIA. NC Shop Floor Programmer gives us access to several new apps, including Shop Floor Machining, which delivers powerful 2.5- and 3-axis, full 3D NC machine programming.
We can start this task with confidence when all of our design data is on the 3DEXPERIENCE Platform, because even if these parts change while we’re working, the updates are automatic within Shop Floor Programmer. So let’s dive in and start making chips.
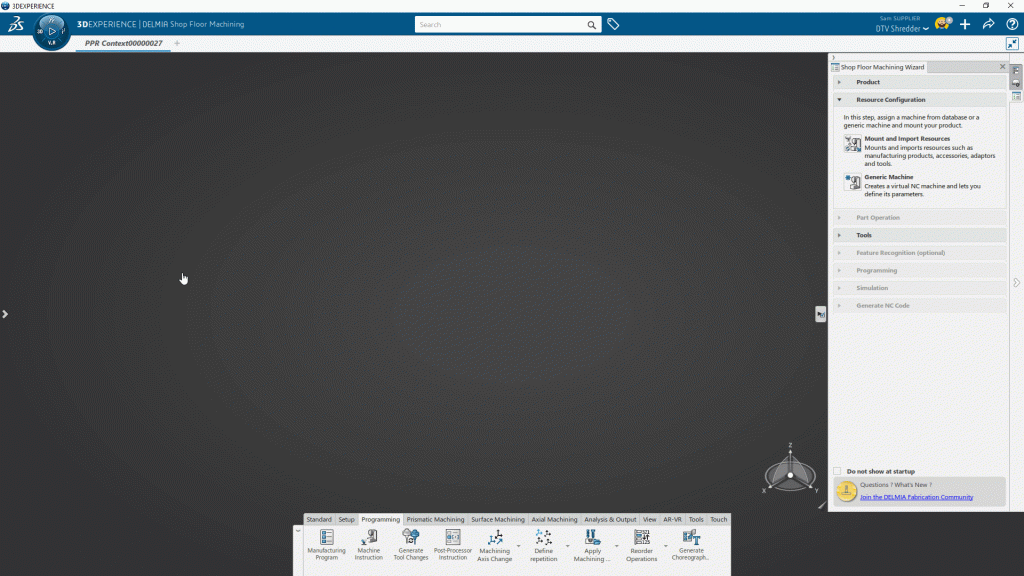
We’ll start, like in most apps on the 3DEXPERIENCE Platform, by simply searching for the part we want to fabricate. From there, we can dive right into the Shop Floor Machining Wizard to help guide us through the initial setup.
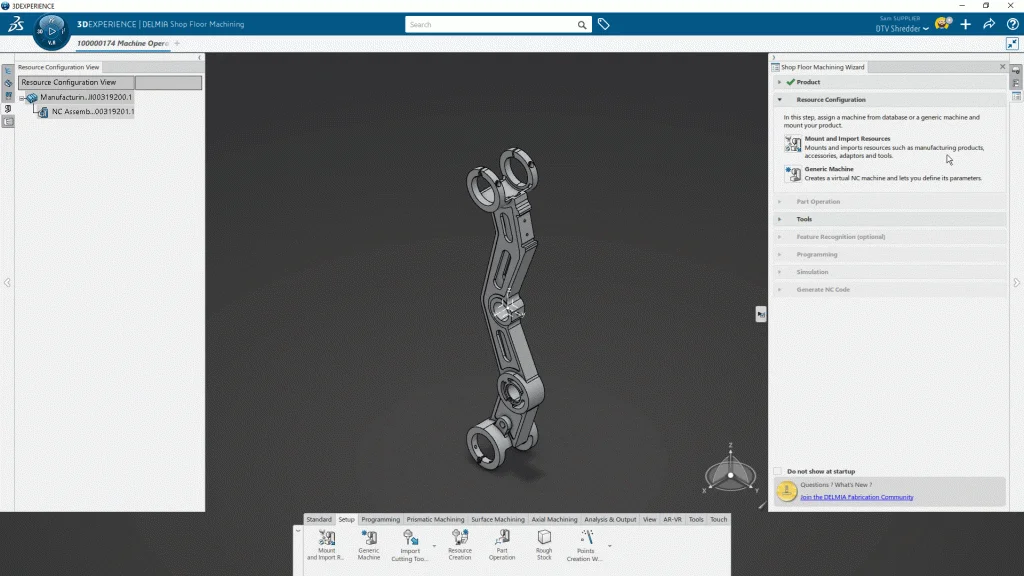
The first thing we’re asked to do is define the machine that will process the part. You can do this one of two ways. You can choose to use a full 3D model of the virtual twin of the CNC machine you will be using. This will provide advanced features like Machine Kinematics, which allows you to understand how your part, fixtures, tools and the machine all interact with one another.
The other method is to define the machine virtually. When doing this, you have all the same control of the final NC programming. You can even specify a standard catalog of machine tools you work with regularly adding consistency to all of your NC tool paths, and also lighting fast to find. The one other thing you will want to do is define the Post Processor you will be using based on the machine you will be machining this with.
With the machine set up, you will want to define your stock material. You can use any 3D geometry for this. So, for example, if you had a 3D model of a casting for this part, you could use that as a starting point. Alternatively, Shop Floor Machining allows you to generate a rough stock, based on the overall geometry of the part, in which you can customize any of the values to account for standard materials sizes, or material you have on hand. You can either enter these values in the dialog box, or use the on-screen rulers, whichever you find to be easiest.
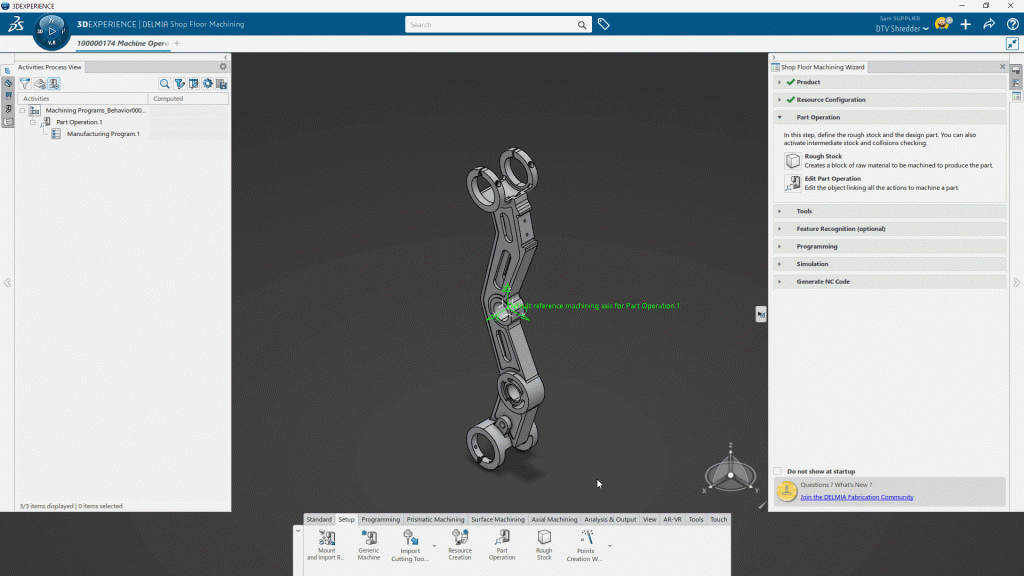
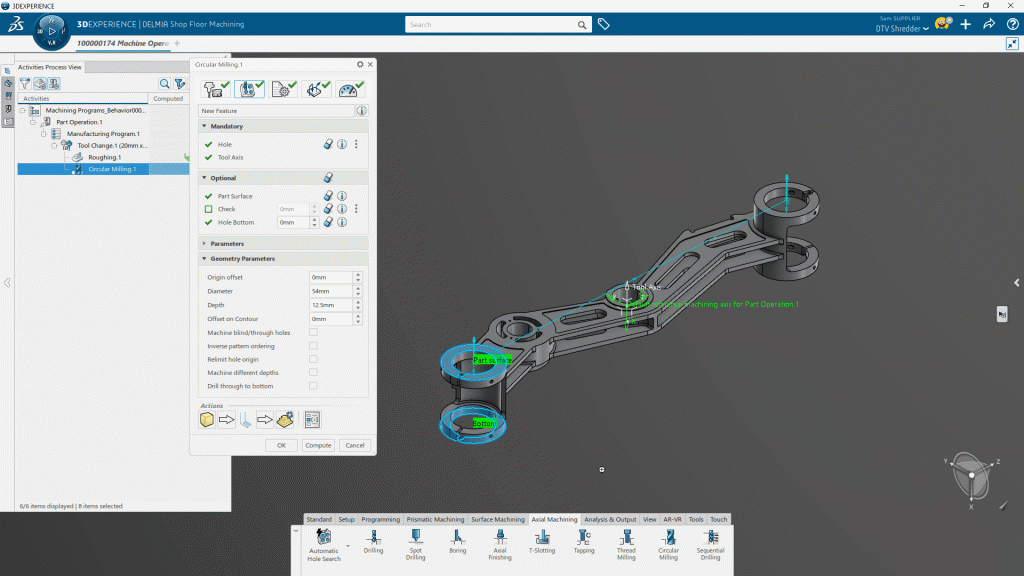
With the stock and material set up, the last thing we want to do is automatically recognize any holes on our part. This will save us a lot of them when it comes to doing drilling and boring operations, by automatically capturing the size, depths, and any common holes to be used in patterns. This is a big timesaver, allowing you to focus on the more complex aspects of your NC program.
With all of the setup out of the way, it’s time to start roughing this part in with the Roughing Tool. The fist thing you’ll want to define is the tool you want to cut the material with. Here is where the catalog that we defined earlier makes it simple to search through your common tools and assemblies.
Within every machining operation, there are parameters that are specific to the process you’re performing. In this case, you can customize the step over, cutting depth and more. The Surface Machining tools in Shop Floor Machining are very powerful in that they reference the 3D model in its entirety. So there’s no need to select all of the surfaces you want to machine and convert them to a program specific entity. The application looks at the entire part, and the stock material we specified and calculates the entire roughing operation for this part leaving 1mm of material for a finishing pass later. Once calculated, you can always review the NC toolpaths that are created instantly, and play the simulation of the machining process to ensure that everything is processed as intended.
This style of showing NC tool paths is fairly typical with CNC software, and is what many machinist have come to expect from the NC tool. However, the DELMIA machining tools, including Shop Floor Machining, provide a much easier way to understand these complex step-by-step interactions. Intermediate Stock is a powerful and simpler way to visually understand see where there’s material left, and how the current machining operation will impact the overall manufacturing process. This graphical representations make it very simple for both new and experienced machinists to have a better understanding of each machine process performed.
Automation is great for getting large mundane tasks taken care of quickly. However, there may be times where you want very specific control of the machining of a specific feature or area of your design. The Prismatic Machining tools provide that level of control for process-specific features, like Pockets. You can simply specify the face of a pocket, and the perimeter will be selected for you. You can control every aspect of the features, including how the side walls will be finished.
For that extra level of control, macros are available within every machining feature that enable you to customize and self-define how the tool will interact with the process. For example, on this part, avoiding the boss in the center may be critical, so extra approach and retract values can be added.
You may have also noticed that when a different tool was selected for this process, Shop Floor Machining automatically added a tool change operation to the Activities Process View. This will be added to the NC code, so that your machine can handle these tool changes as needed.
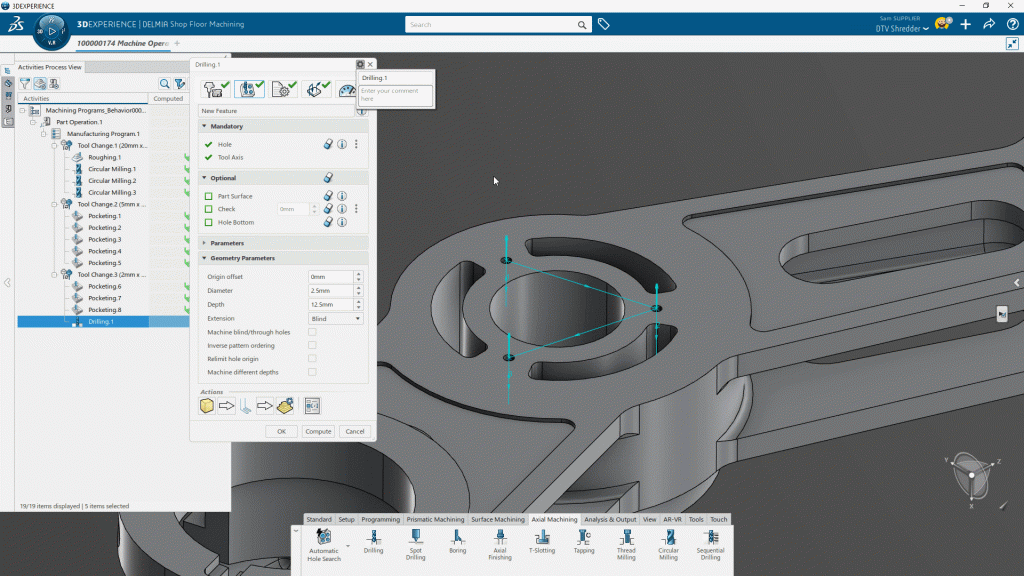
As for drilled holes on the part, these are fairly straightforward because of the automatic hole-recognition performed on the part in the beginning. This is as simple as making any minor adjustments you want to the automatically generated drilling operation.
The last step for this manufacturing setup of this part is to finish all of the rough surfaces created earlier. The Advanced Finishing Tool provides precise machining on all of the remaining material on the part, removing the extra 1mm left behind. Like the roughing operation, this looks at the entire part, and the remaining material from the intermediate stock and quickly comes up with a solution for this step.
It is time for a new manufacturing setup. On the underside of this part are several complex rib features. Using Advanced Surface Finishing again, you can quickly generate the complex 3D toolpath needed to create these unique features.
There are times, when you may not want to perform a surface machining operation on the entire part. In these cases, you can use the Limiting Contour controls and selection tools to define specific regions where you want to perform these tasks. This may be useful, in cases like this where the overall machining time is intensive.
You can also finetune Advanced Surface Finishing as much as you would like, and perform multiple passes with different tools to get the perfect finish on this part; in this case, this looks good for an initial run of these parts.
As you develop your manufacturing processes, every setup, tooling change and machining operation is added to the Activities Process View. This visually lets you understand the step-by-step way in which you programmed the manufacturing of your parts. More importantly however, it lets you parametrically return to any process and make adjustments as needed. Similarly, you can reorder any of the steps in the manufacturing of the part, giving you the freedom to define each step, then decide in which order they should be performed.
At any time, you can review each machining operations on a feature by feature bases, or review the entire program of the part. This provides multiple graphical ways to understand how the part will be machined, and will always let you review the NC program before sending it off to be machined.
To learn more about the DTV Shredder, and the entire design through manufacturing process, visit shredder.solidworks.com.