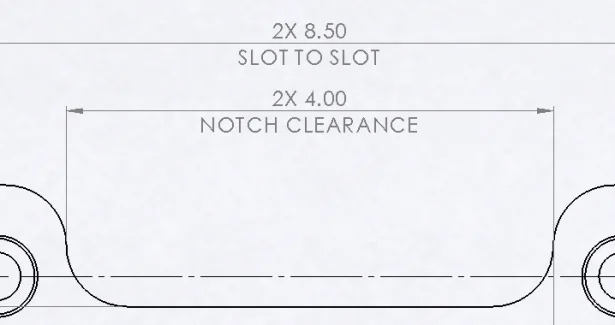
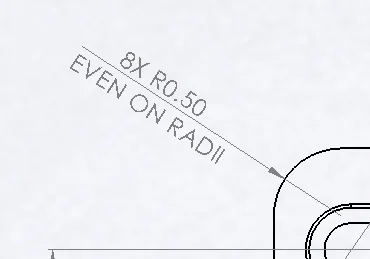
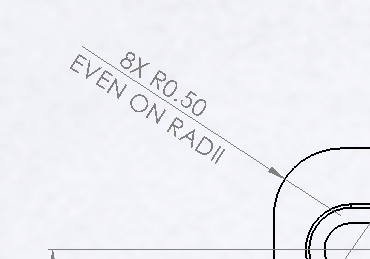
New functionality for dimensions on drawings is available in SolidWorks 2014 for ISO and related standards. It is now possible to place dimension text above and below a solid dimension line.


The new capability is available for linear, diameter and radius dimensions set to “Solid Leader, Aligned Text” on the dimension’s PropertyManager under the Leader tab within the Custom Text Position group box, regardless to the selected Drafting Standard for the drawing.

Of course, this setting can also be set as the document default at ToolsOptions…Document

Properties>Dimensions under Linear, Diameter and Radius pages in the Text Position area.
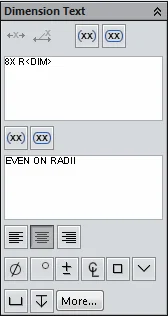
When “Solid Leader, Aligned Text” is set, a second text entry field appears within the Dimension Text group box. Text entered into this field will appear under the solid dimension line. Parenthesis and Inspection outline may be applied to the top and bottom independently from each other.
Text justification (left, center and right) apply to both the top and bottom at the same time.
Dual dimensioning is also supported! When a dimension is set to Dual Dimension using the Dual Dimension group box (checked), a new setting is available simply called “Split”. When Split is checked, the secondary unit will appear other side of the dimension line.

Want to learn more about SolidWorks or get a hands-on trial? Complete the form below to get started.

