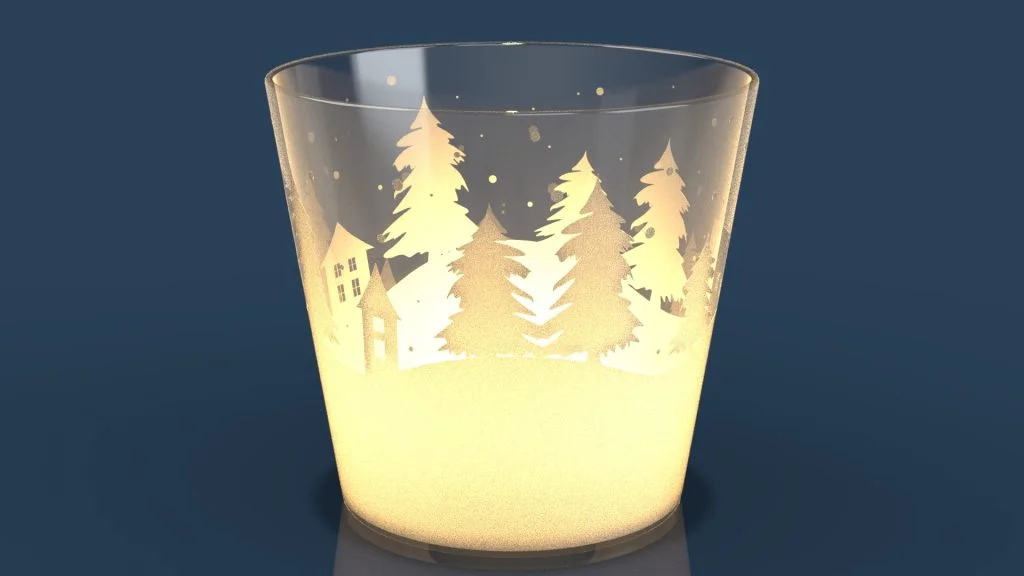
For this SOLIDWORKS tutorial, I decided to create a festive themed tealight holder that was made of glass. The wrap feature of the design was used to create a frosted glass appearance to the holder, so that when it is rendered you see a clear design on the glass. The winter themed design is created as a DXF and imported to SOLIDWORKS. The tealight used in the tutorial is available to download from the blog along with the vectors used, the finished DXF file and the truncated cone template DXF. All the files needed for this tutorial are available to download here.
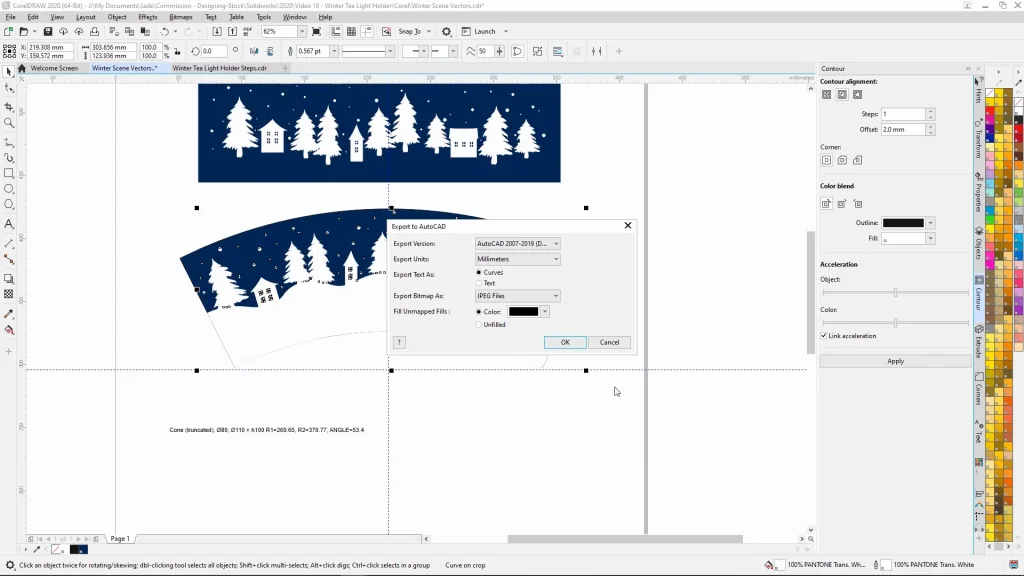
During this tutorial, I demonstrated how I get a template of the revolved glass holder. In this case I used a template generator: Link for template maker You can either follow the link, or use the downloaded file. Using the template, I used this to fit a set of winter themed vectors along it. If you have vector software, I would definitely recommend creating your own design using the tutorial steps. If not, you can use the Winter Scene DXF file. One step that I found very important for creating a wrap design to fit all the way around the glass face was to leave a slight gap at the join, and make the design slightly smaller, otherwise the wrap sketch intersects and overlaps itself, stopping the feature from working.
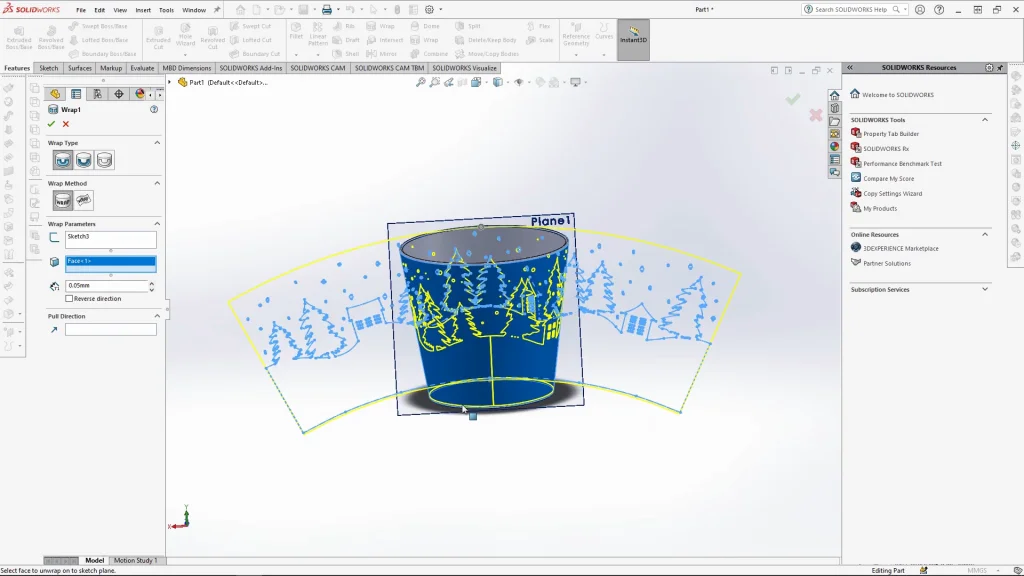
Before bringing the sketch in, you need to ensure that your plane for the wrap feature is tangent to the face to wrap the sketch analytical. When the DXF file is brought in to use for the wrap feature, looking at the feature preview, you can see the gap in the sketch as it wraps around the glass. A simple boundary boss was used to fill this gap in. The wrap feature is embossed at 0.05mm, this is because I didn’t want the emboss to be a visible extrusion. it was added to allow me to add a different appearance to the winter scene.
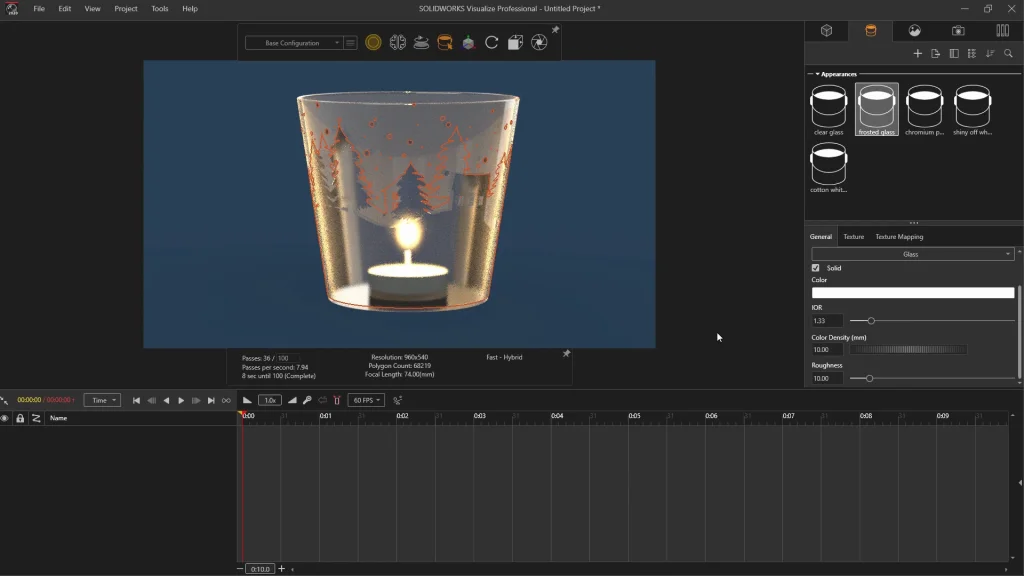
Appearances were added to the final design and was then saved. The glass was then inserted into an assembly where the tea light part could be added and mated inside of the glass. Once the assembly was complete it was exported directly to SOLIDWORKS VISUALIZE. In the tutorial I demonstrate how to render the design, by adding an area light to the tea light part and editing the final appearances of the glass holder. I also show you how to play around with the background color, brightness and floor appearances. The most important aspect of the render settings were the edits I made to the glass appearances. I played around with the glass index of refraction, but also the roughness of the glass, this really made the final render realistic.