
In Part 2 of a 3-Part SOLIDWORKS tutorial series for a Wooden Cottage Dolls House we will finish with the finished Dolls House as a Part file, in preparation for Part 3. You will need to have finished Part 1 here. if you are following the series. In Part 3 we will export the solid bodies out as parts, some will be grouped together into one part to make it quicker to assemble. The main aim of creating the Dolls house as a whole part for me is the ease of editing the Dolls House quickly as a part, ensuring all the parts slot together correctly. Others may prefer to model it straight into an assembly but I find this method easier.
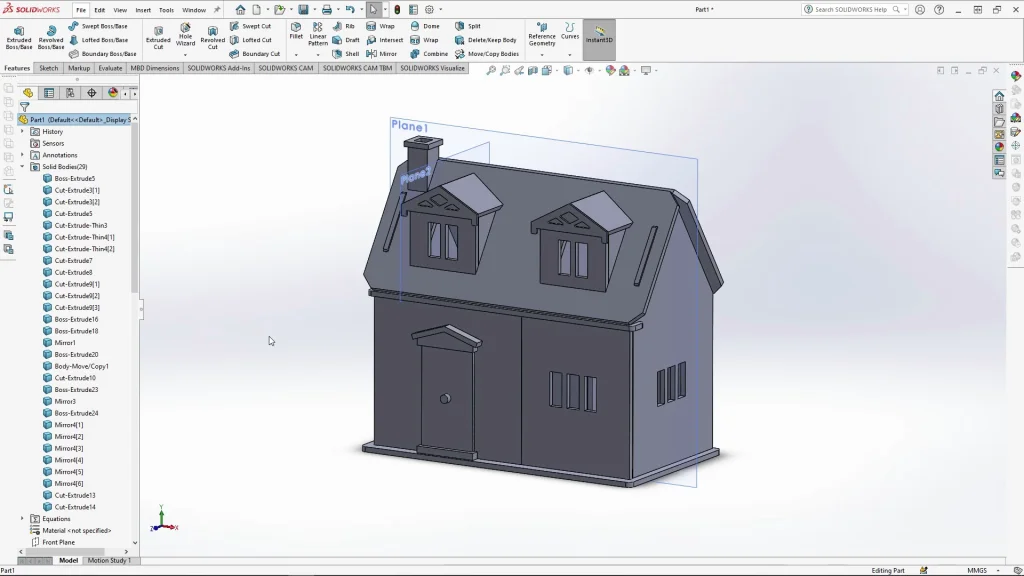
Part 2 of the house modeling became a little more detailed for Part 2, however the mirror bodies feature came in good use for the roof panels and the roof window box which was more detailed. As I mentioned for Part 1 the tutorial is quite lengthy, but you do need to be quite accurate when creating the panels to ensure that they slot together correctly., if you get something wrong here it may not mate correctly in the Assembly during Part 3 of the tutorial. The design of the house is to slot together, but there is also a small design feature that I added to make the house easier to play with, in Part 1 you’ll remember that we modeled one of the tabs on the Side Panels to be taller than the other, this is so that the front roof panel can sit on the back tabs while the Dolls House is in use.
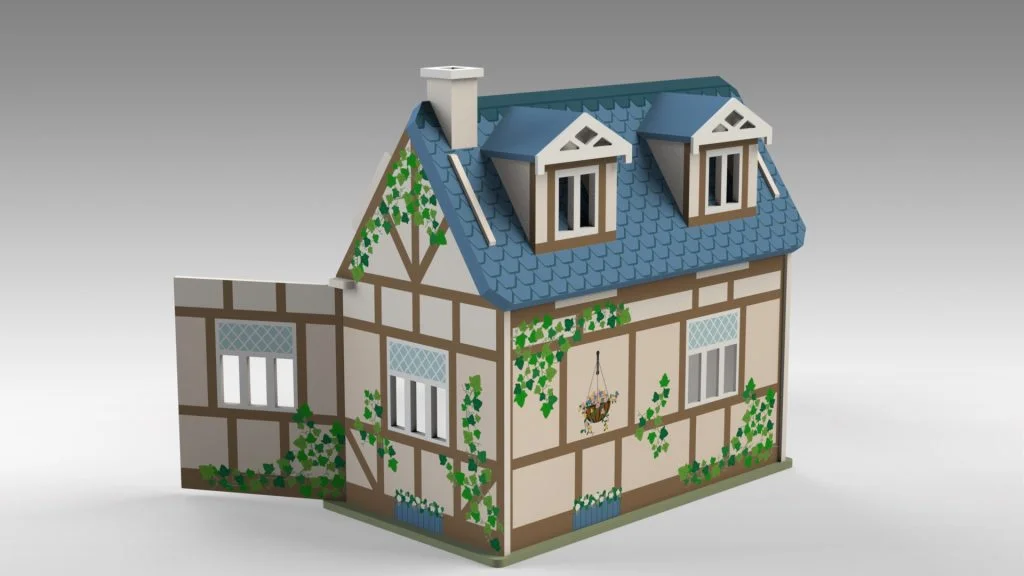
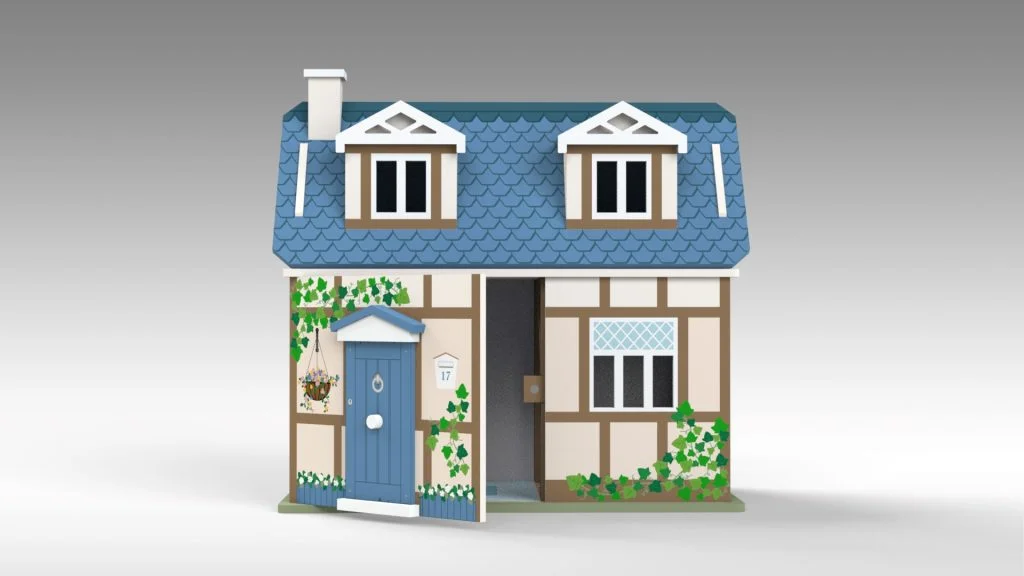
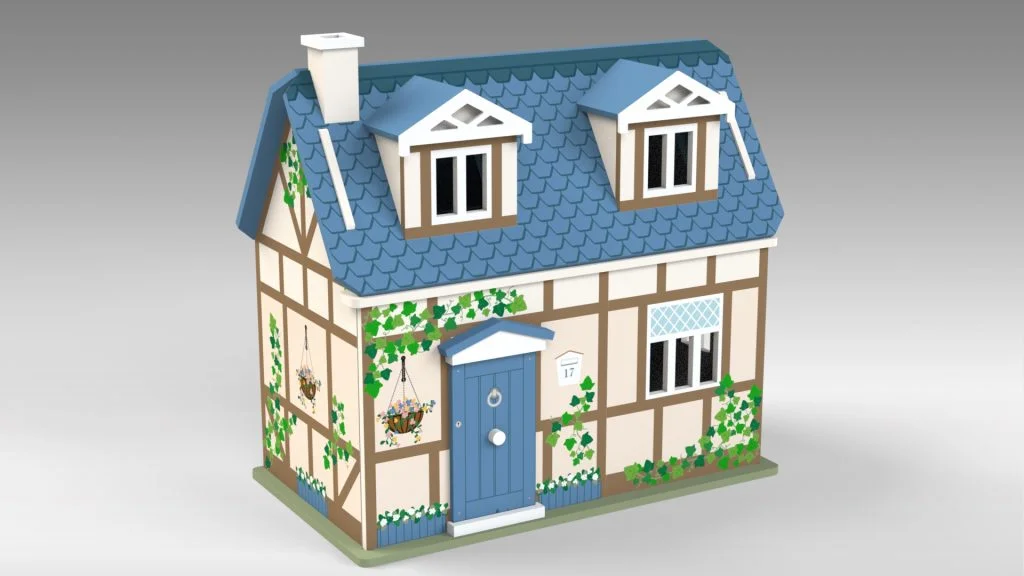
By the end of Part 2, your Dolls House Part should look like this. Stay tuned for Part 3 where the decals seen in the renderings will be available to download – it is optional to add these, you could always create you’re own or just add appearances. Make sure you save your part ready for Part 3.