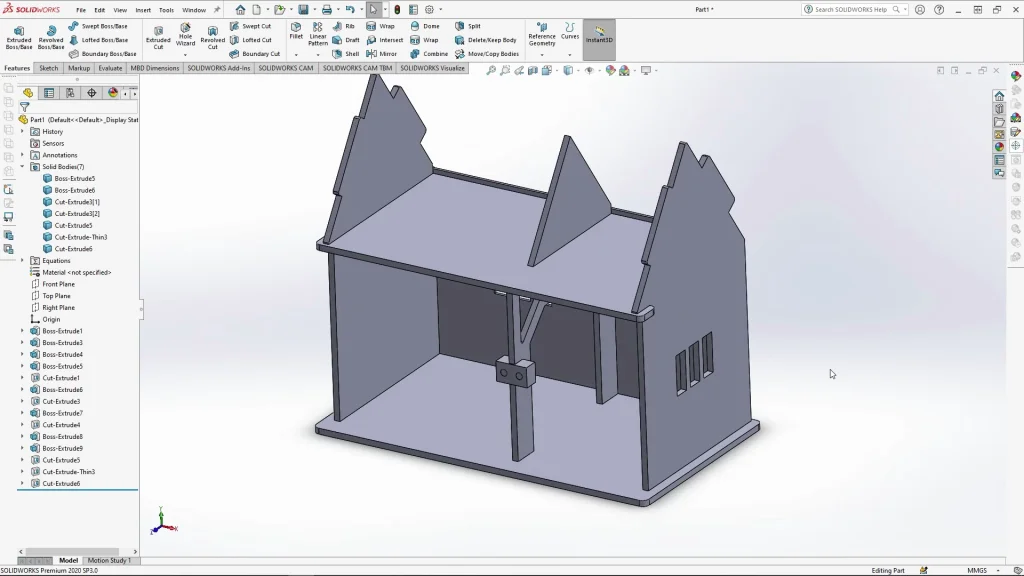

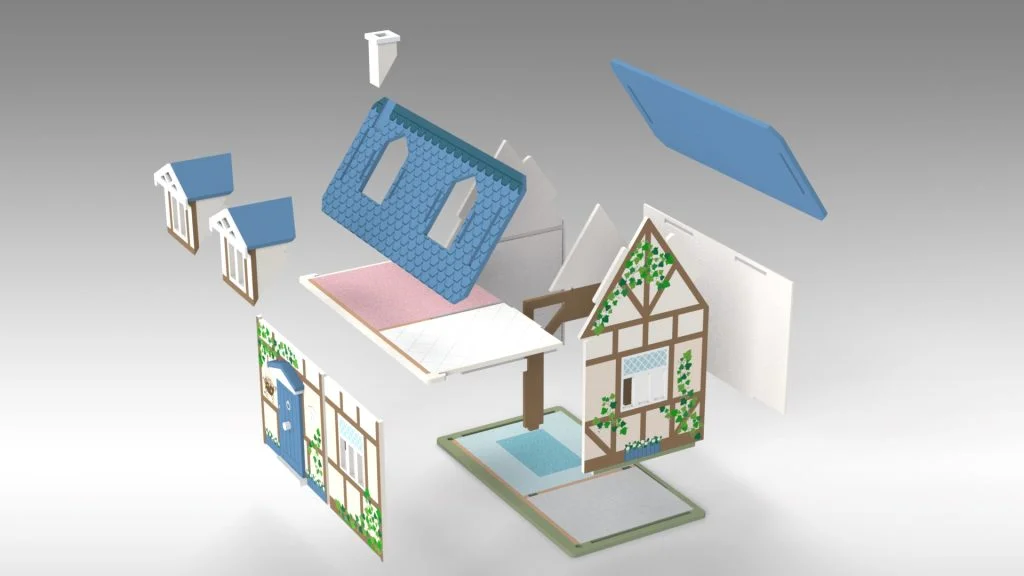
The Dolls House tutorial series involves creating the Dolls house as a whole part file with multiple separate solid bodies before exporting the solid bodies as grouped or singular part files to create an assembly. This allows you to attach the dolls house doors onto it and add limit mates for opening and closing the Dolls House doors freely.
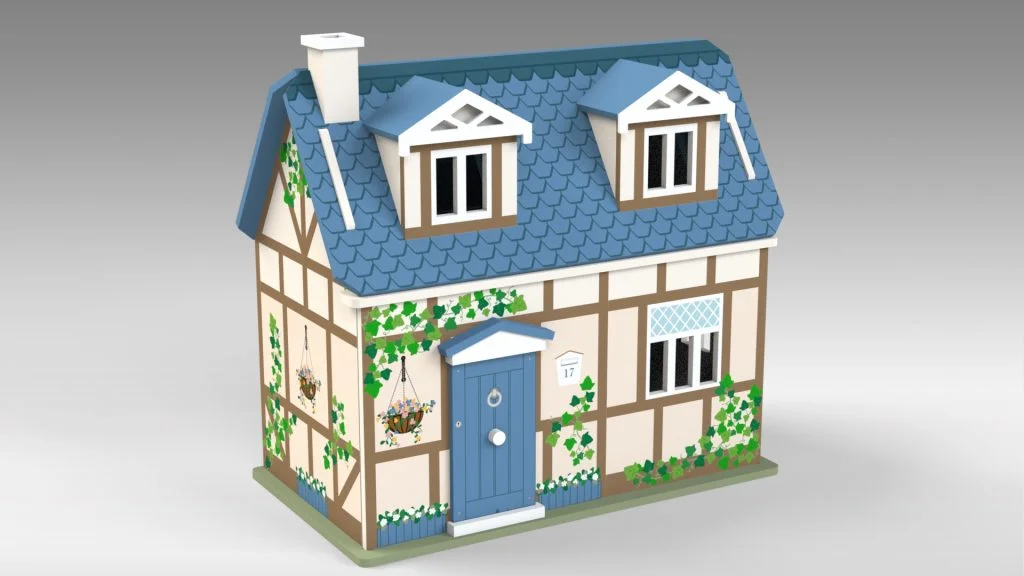
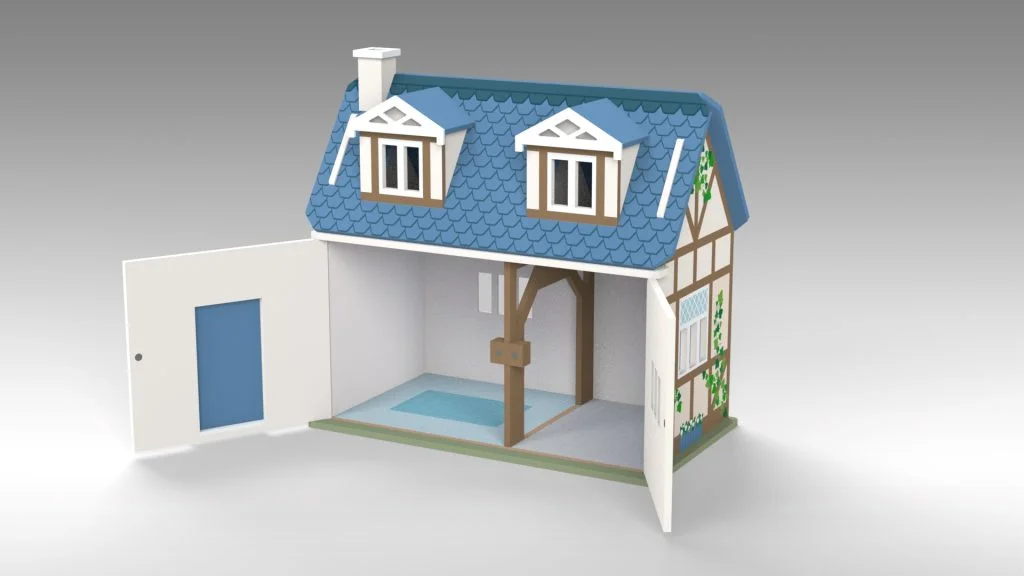
The Dolls House was designed in SOLIDWORKS first to ensure everything slotted together correctly before I exported out all the face DXF’s individually to create custom decals. The decals seen in the renderings will be available to download for Part 3.
The tutorial is a walk-through of the construction and measurements of the house, it is a lengthy tutorial, but you do need to be quite accurate when creating the panels to ensure that they slot together correctly. The Dolls House has been designed 1:12 scale like many current models on the market. The house can be constructed without the need for screws or dowels, it is either slotted or glued. This is preferable in the toy industry as it saves money on parts, speeds up production times and is more customer and child friendly.
By the end of the tutorial you should be left with the main frame of the Dolls House. Ensure you save your file at this point ready for Part 2 and 3.