
Many of the tools in SOLIDWORKS can be used for purposes outside their original intended use. For example, did you know that Weldments can be used for wooden projects as well?
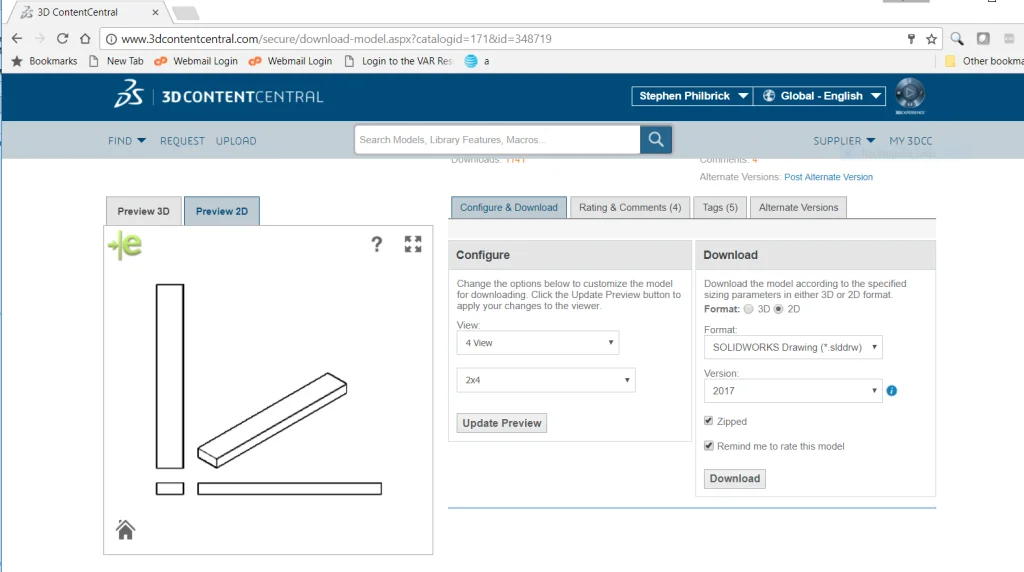
You can customize your Weldment profiles to include common wood cross sections, including 3 X 4. 3D ContentCentral includes samples of these types of profiles (access 3D Content Central via the SOLIDWORKS task pane under Design library, or 3D ContentCentral).
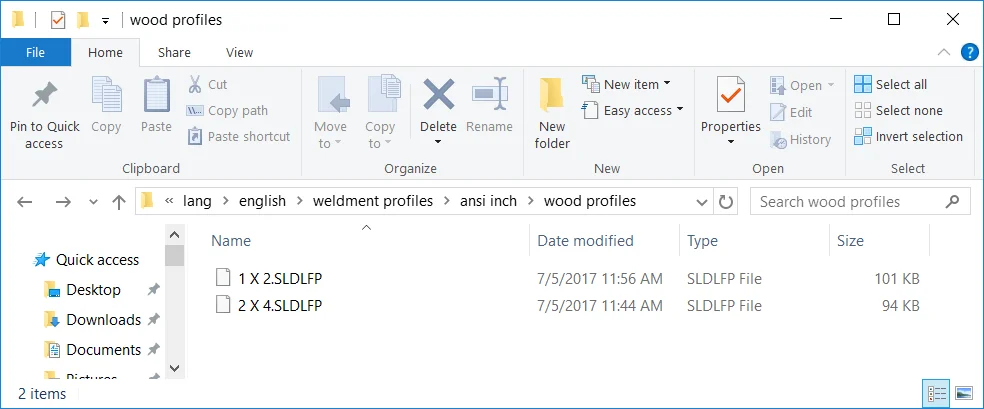
These can be added to your Weldment profiles folder in Tools, Options, File Locations, Weldment Profiles – by default C:Program FilesSOLIDWORKS CorpSOLIDWORKSlang[language]weldment
You can also create your own custom profiles. To create a weldment profile:
- Open a new part.
- Sketch a profile. Keep in mind that when you create a weldment structural member using the profile:
- The origin of the sketch becomes the default pierce point.
- You can select any vertex or sketch point in the sketch as an alternate pierce point.
- Close the sketch.
- In the FeatureManager design tree, select the sketch profile.
- Click File > Save As.
- In the dialog box:
- In Save in, browse to install_dirlanglanguageweldment profilesand select or create appropriate
and See Weldments – File Location for Custom Profiles. - In Save as type, select Lib Feat Part (*.sldlfp).
- Type a name for Filename.
- Click Save.
- In Save in, browse to install_dirlanglanguageweldment profilesand select or create appropriate
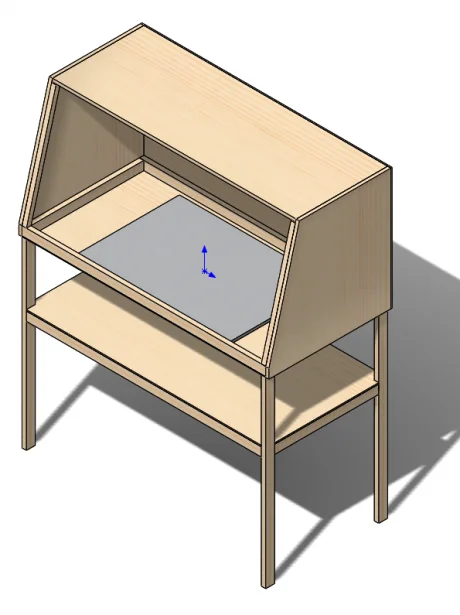
This spray booth table was created using standard lumber profiles (1 X 2).
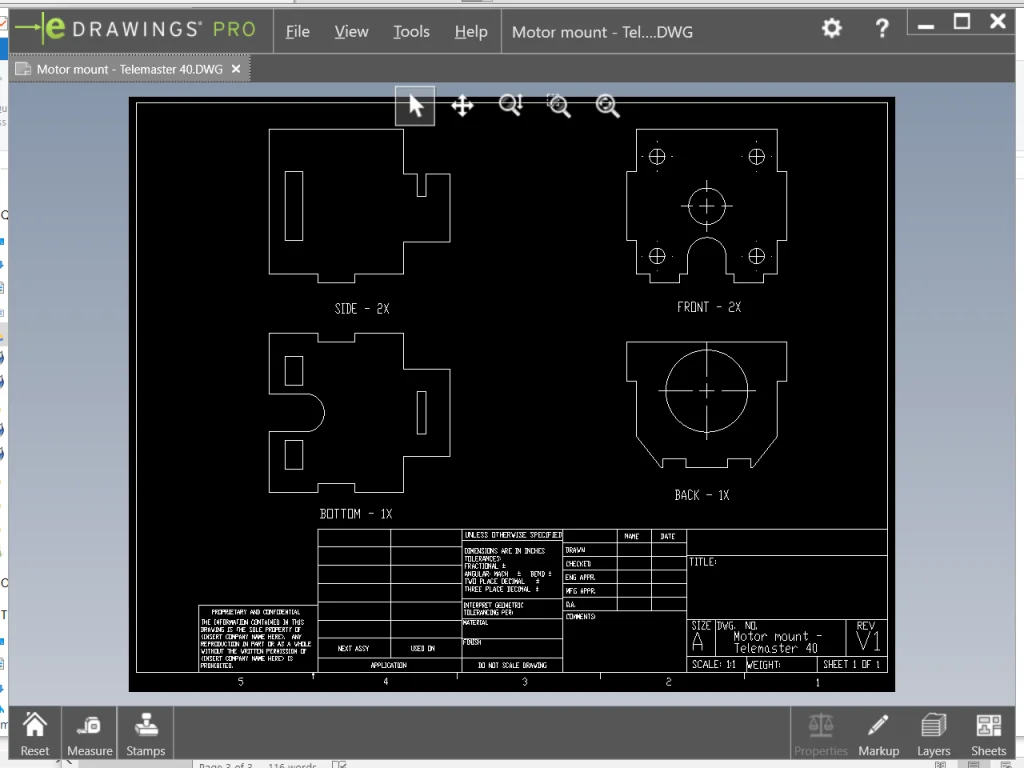
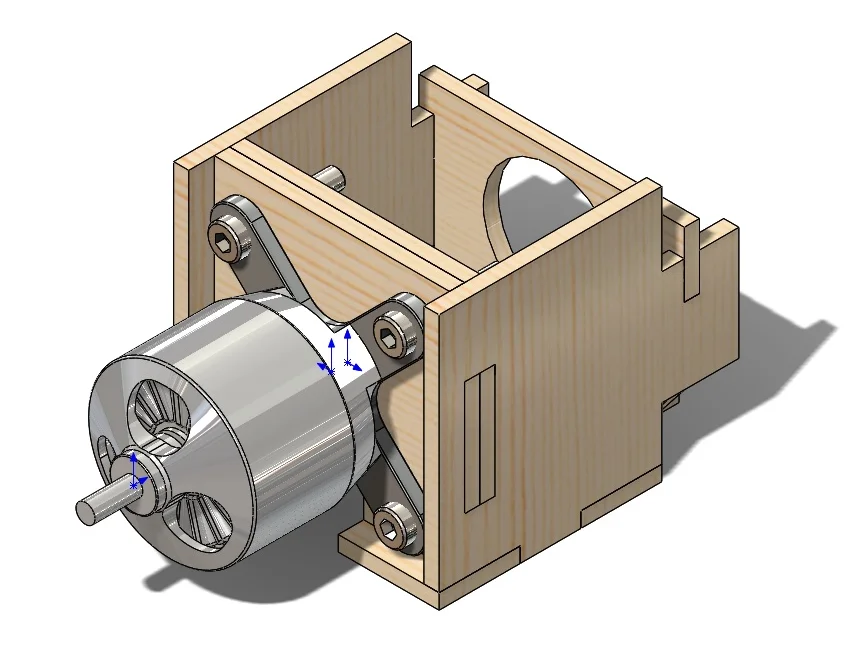
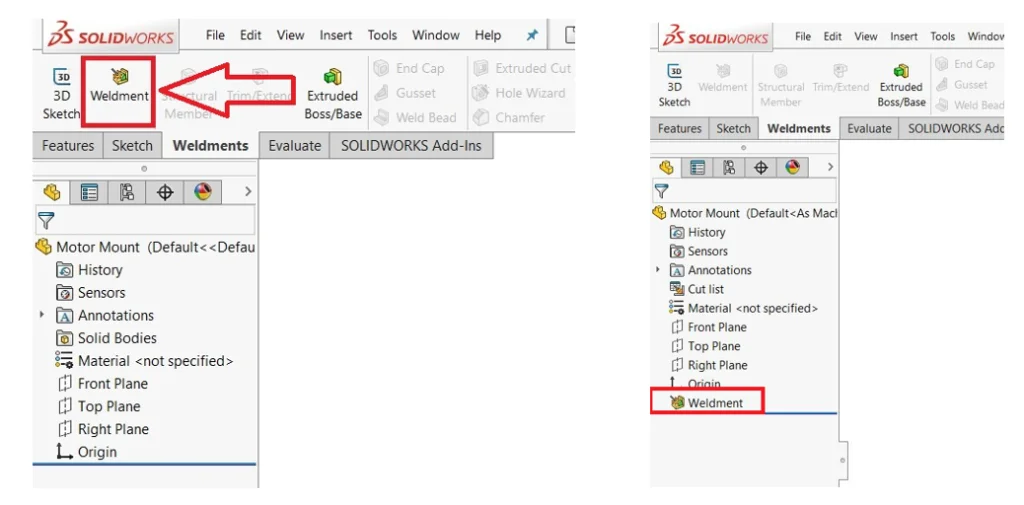
Even for non-uniform pieces, such as a motor mount for a radio controlled aircraft, can take advantage of this functionality to create separate bodies for drawing views and cut lists.

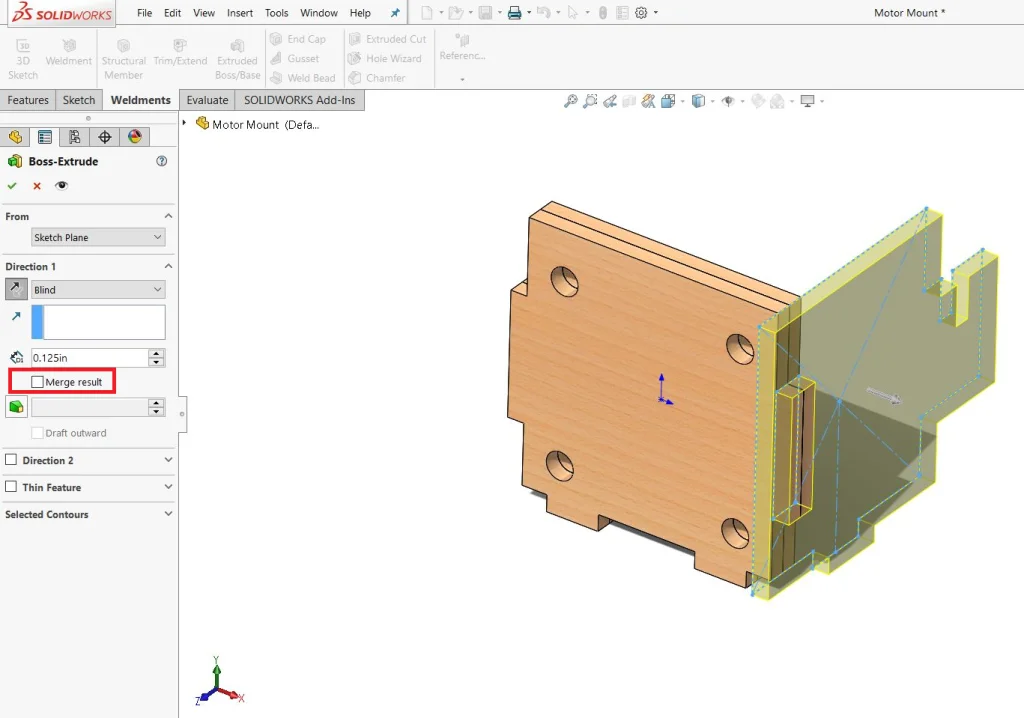
Inserting a “Weldment” before the first feature disables “Merge Result” by default, so each new feature will be treated as a separate body.
Create a drawing of the profiles, save as a dxf and it’s ready for laser cutting. Make sure you output at 1:1 scale.