
If you’ve seen my Doc Ock build (here and here), you know I like building things that are a little extreme and then seeing if they actually work.
Stuff like dropping a $30,000 hammer from a crane, building an Iron Man suit I can wear while camping, or trying to make an insane bulletproof, stab-proof Batman suit that you can actually move in.
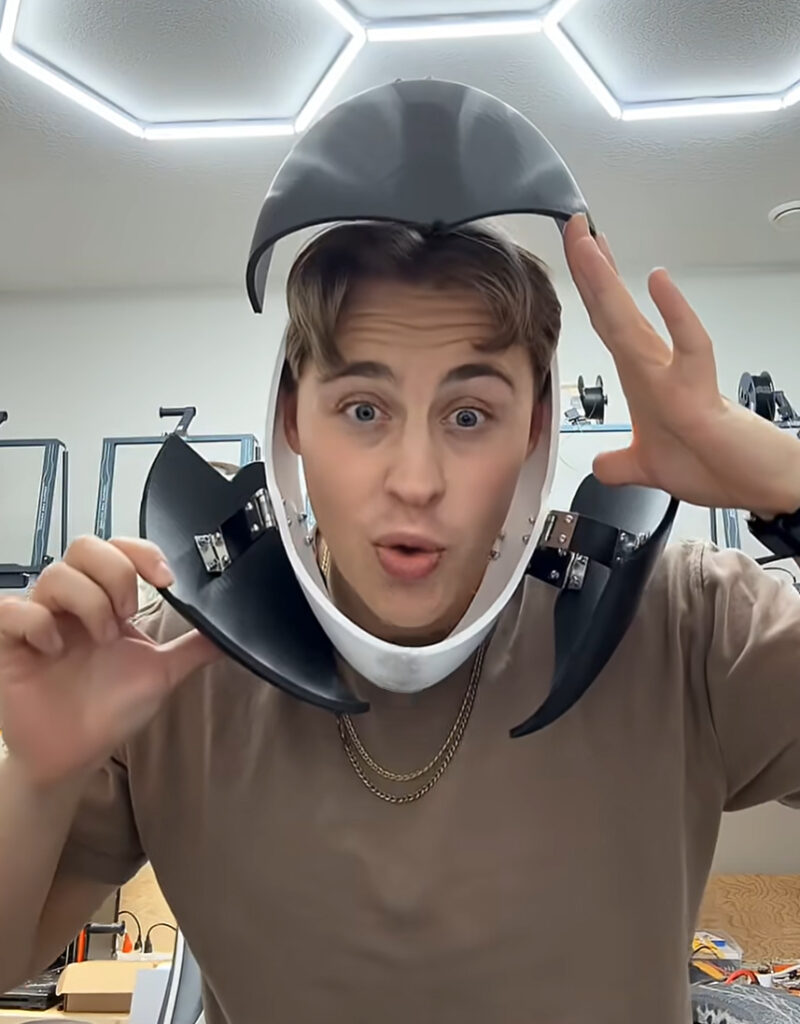
But a bulletproof helmet is a completely different problem. It has to open, fit your head, and provide substantial protection.
And right away, there was a huge issue.
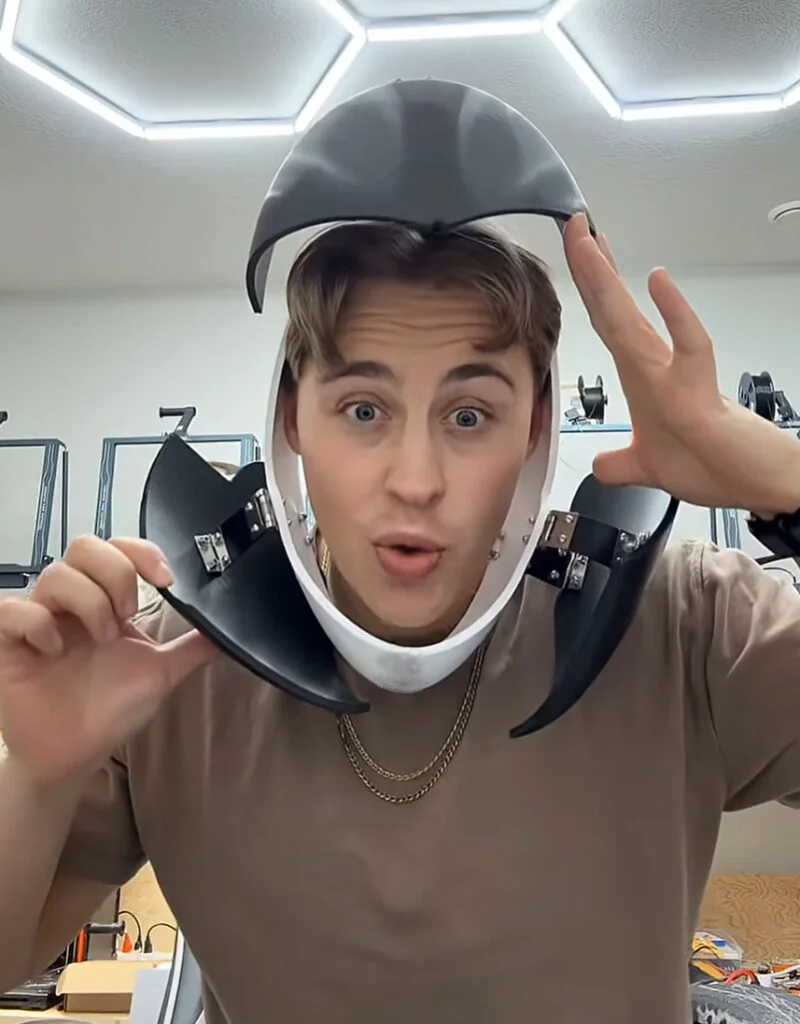
The problem with this helmet design is that when it opens, the top part is extremely vulnerable. It creates a straight path through the helmet, which defeats the whole point.
To make the best bulletproof helmet in the world, there were three steps.
Step 1: Fixing how it opens
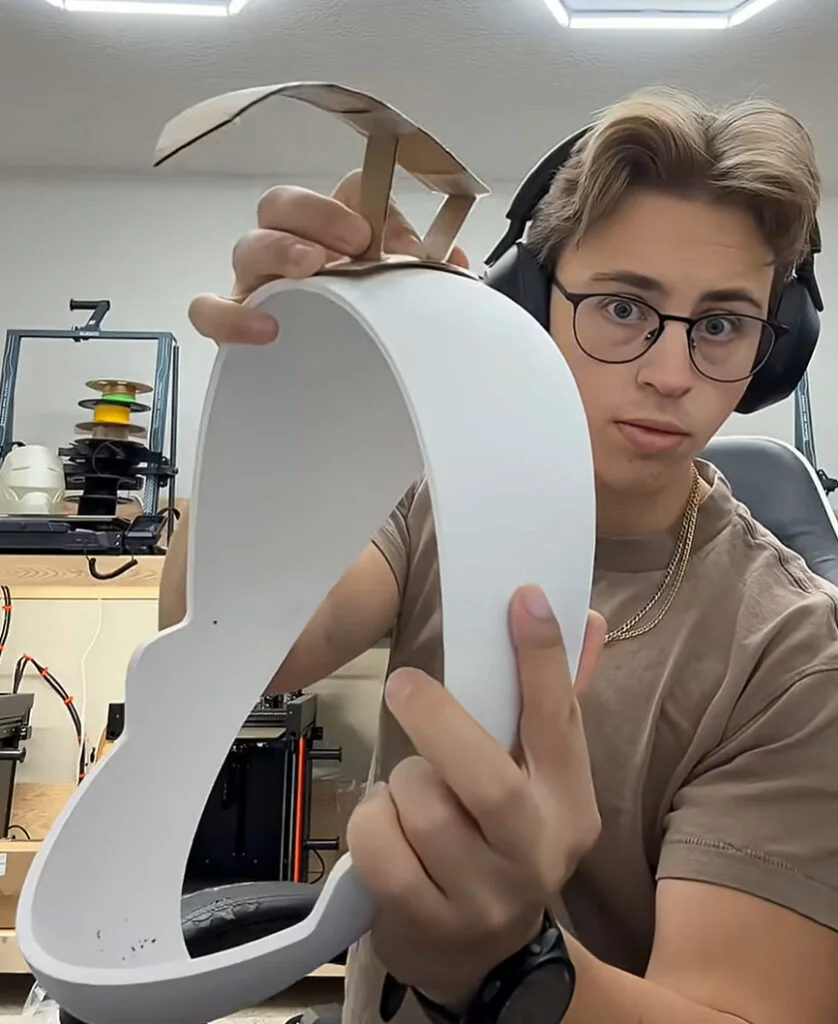
First, I needed to figure out a way to get it open without it just lifting up, and I discovered a really cool way to pull the faceplate back. Instead of opening straight up, the faceplate moves back along a controlled path. That keeps the top covered while still letting the helmet open.
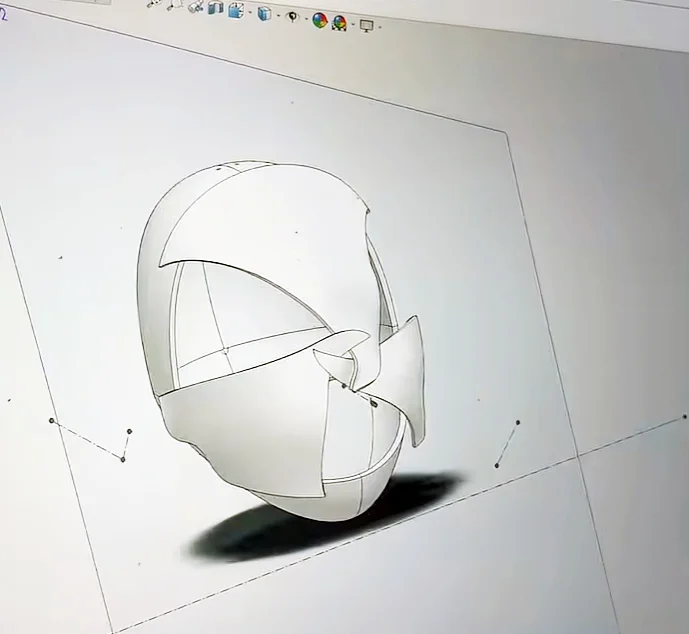
Then, to see if it would actually work, I sat down in SOLIDWORKS to redesign it to fit my head perfectly. If the fit is off, the mechanism won’t move right. So I rebuilt the shape around my head, adjusted clearances, and lined up the pivots so the motion works.
After that, I printed everything in 3D, screwed it together, and tested it. It shut fast. Exactly how I expected.
Step 2: Fixing the huge hole
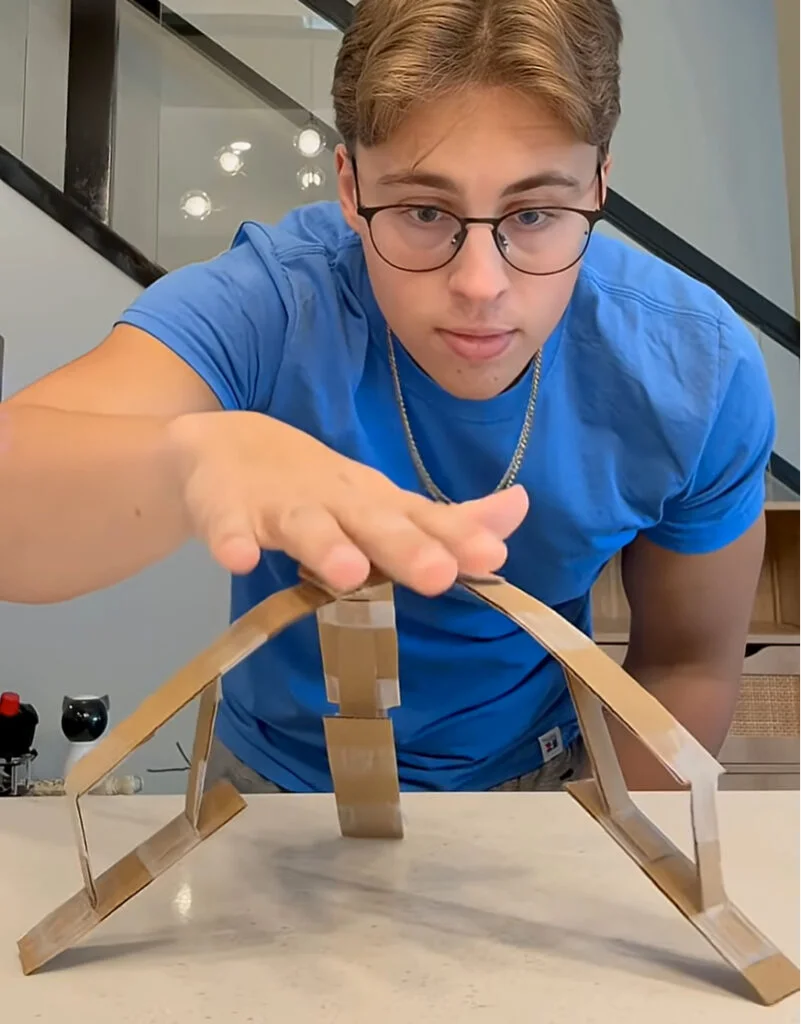
There was still a big problem – a huge hole where the bullet could easily go through, and I wanted to make it bulletproof. I needed to fix that, but it turned out to be way harder than I thought. I could have just overlapped a few plates and covered it. I didn’t do that. Instead, I started looking into reciprocal structures.
A reciprocal structure is where every piece supports another piece in a loop. There’s no single part holding everything together. Each piece depends on the others. That spreads force across the entire structure instead of concentrating it in one spot, and it also removes obvious weak points.
The downside is that it’s way harder to design.
I spent hours, then days, in SOLIDWORKS redesigning everything so every piece goes over one part and under another. You can’t change one piece without affecting everything else. Eventually, I got to a version where the whole structure locks together and covers the gap.
Step 3: Seeing if it actually works
Step 3 is the next level because, in order to actually make the helmet bulletproof, I need to start testing materials. So I’ve planned 20 different experiments, and I’ll need to keep playing with the helmet design.
I’ve saved up $20,000 that I’m prepared to spend on this, so I’m planning to push this a lot further.
This project is still in progress
This project is still in progress. Now it’s testing, breaking things, and redesigning them.
Stay tuned.
Try it Yourself
If you are working on personal builds like this, or maybe looking for a reason to get started, check out SOLIDWORKS for Makers in my profile, and enter the code TYLERCSATARI for 20% off.