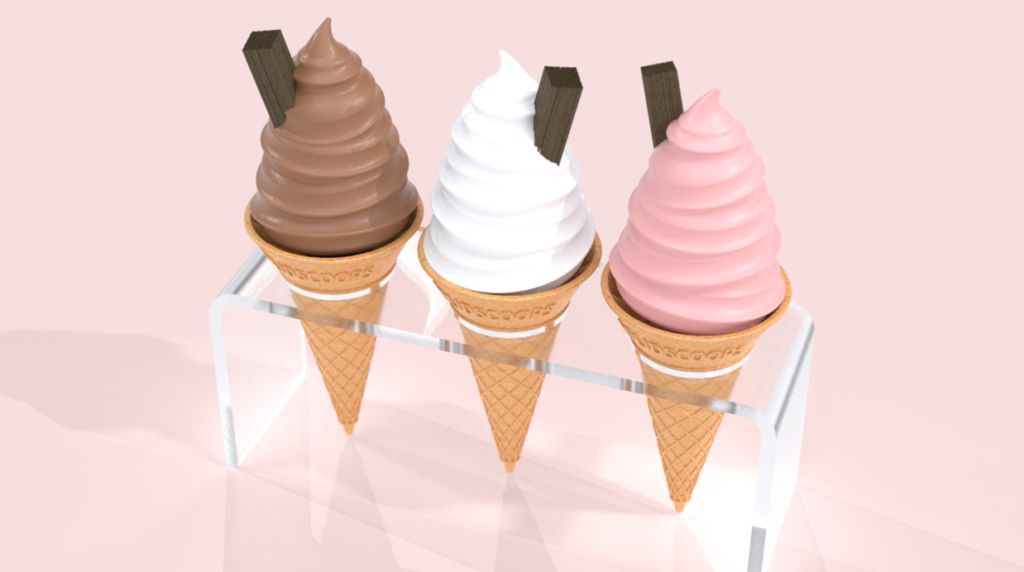

This tutorial shows how to model a realistic wafer ice cream cone in SOLIDWORKS using a range of features including Helix and Spiral, Sweep, Circular Pattern, Wrap and Surface Modelling. Although the finished model looks quite detailed, it’s built using a series of straightforward features that come together to create the finished waffle cone.
The model starts with a simple revolved cone, which is then shelled to create the wafer thickness. A reference plane is added from the top edge so the cone can be split into separate bodies, making it easier to create the waffle pattern before everything is combined again.
The waffle texture is created using two tapered helices running in opposite directions. Each helix is used as the path for a sweep, with a loft joining the two ends together before a fillet softens the transition. Once one section is complete, it’s patterned around the cone using Circular Pattern before all of the bodies are combined into a single solid. A few revolved details and small fillets finish off the outside of the cone.
Next, the internal support structure is added. This is created using a simple extrude, which is patterned around the center of the cone, followed by a thin feature to create the reinforcing ring. A revolved cut is then used to remove the unwanted material, completing the inside of the cone.
To add some branding, I embossed the text “SOLIDSCOOPS” around the top of the cone. Wrapping directly onto the tapered face proved difficult, so instead I created a temporary cylinder around the cone and used the Wrap feature on that instead. The text was then converted into surfaces, thickened back towards the cone and trimmed before being combined with the main body. A few finishing fillets help blend everything together.
The ice cream itself is created from a scalloped revolved profile, which is copied, scaled and rotated to build up the soft serve shape. The tip is modeled separately using a revolved profile before using Flex to bend it into the familiar peak, with fillets helping to blend all of the sections together.
Finally, no British 99 would be complete without a flake. This is modeled from a spline using Extruded Thin, before Offset Surface and Thicken are used to create the finished geometry. Several copies are then rotated together to create the rippled chocolate effect before adding a simple solid core.
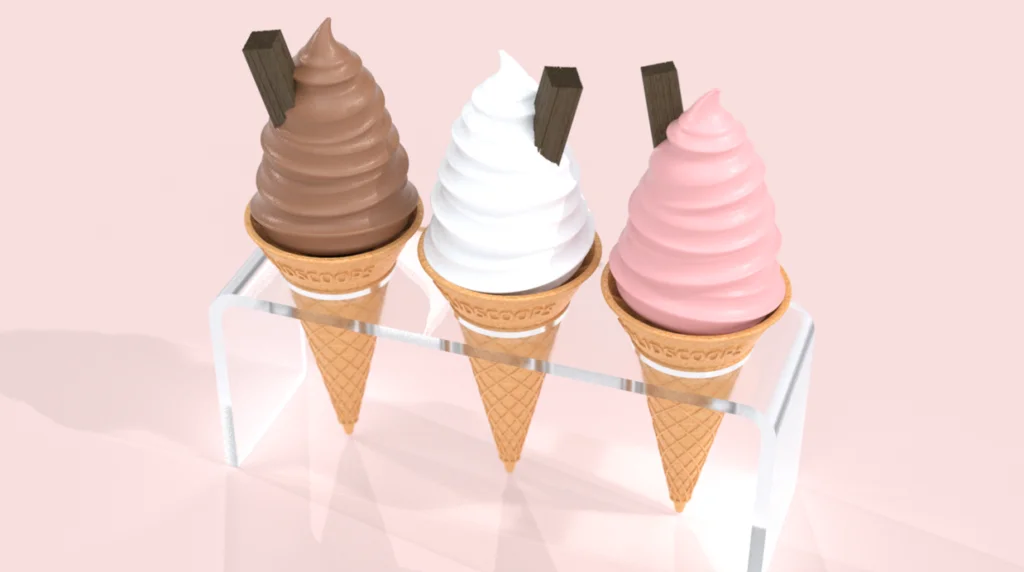
The completed model is finished with chocolate, vanilla and strawberry appearances before being rendered in SOLIDWORKS Visualize. This project is a great way to practise working with multi-body parts, sweeps, patterns, surfacing and embossed text, while creating a fun model that’s a little different from a typical mechanical part.