

Note: this blog was written by Tyler Csatari.
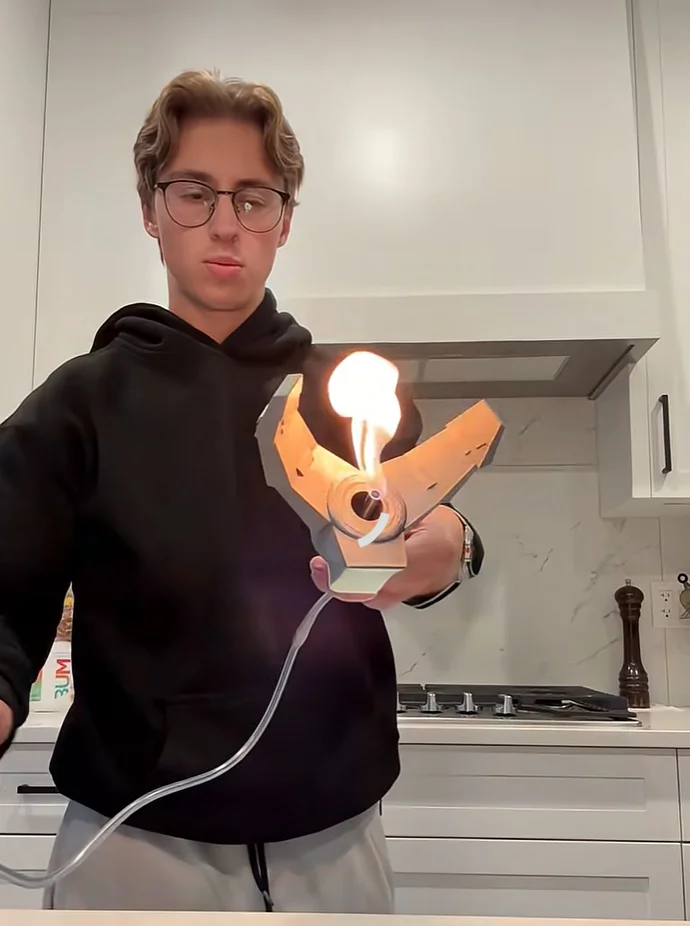
In my first blog post about the SOLIDWORKS project, I talked about my big goal: to create the best Doctor Octopus (or Doc Ock, for short) suit in history. I wanted it to be super realistic, complete with four mechanical arms that really moved and functioned, plus claws that could pick things up and even shoot fire. I ended up spending thousands of dollars on materials and even got a $3,000 plasma cutter. But then it hit me. I had made a really big mistake.
When the Build Hit Reality
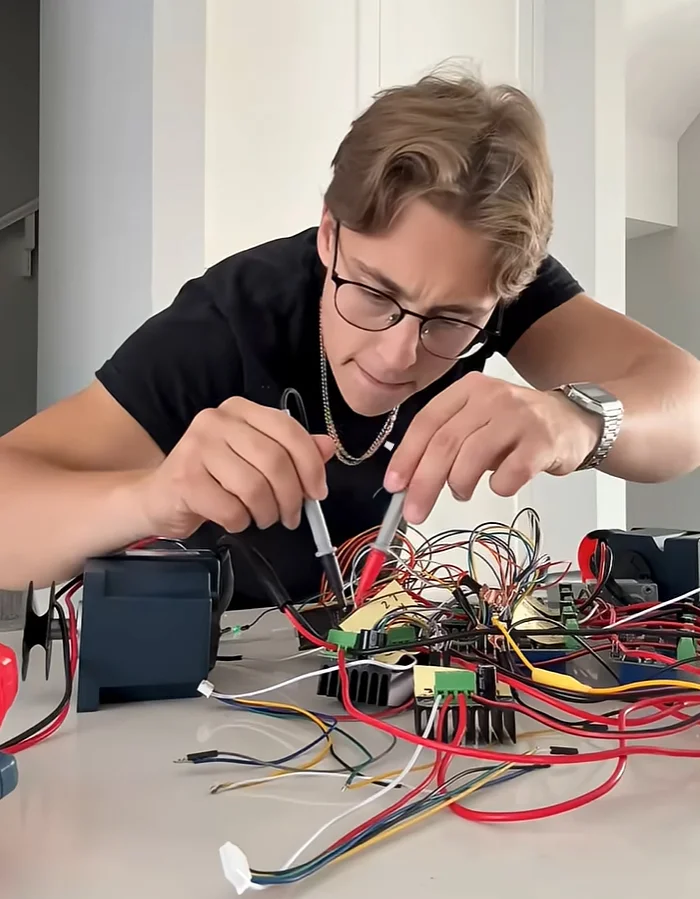
Last October, the arms were printed, wired, and moving. I had claws with embedded lights, motors mounted, and a harness coming together, but the arms were way too floppy. They kept bending in all sorts of weird ways – which wasn’t the look I was going for. I wanted a Doc Ock suit that looked straight out of the movies.
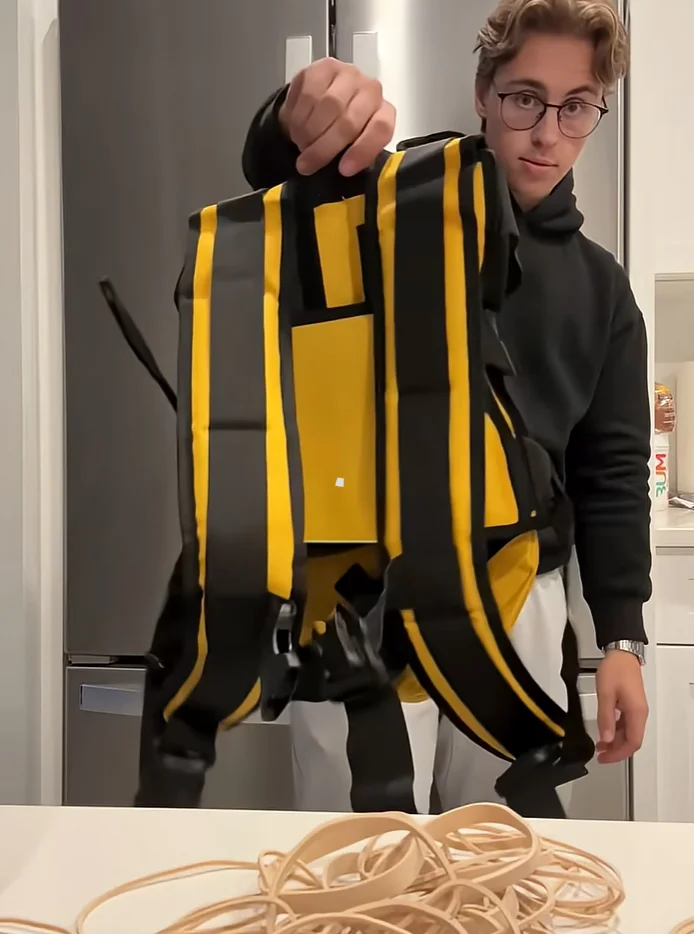
I tried reinforcing the arms with rubber bands to stiffen the joints. On a smaller scale, that actually worked! But once I scaled it up to the four-foot-long arms, things got messy really quickly. The extra weight and complexity just created new issues faster than I could handle the old ones.
Redesigning the Arms in SOLIDWORKS
At that point, I realized that making small tweaks to the physical build wouldn’t help me reach my goal. I needed to completely rethink the design.
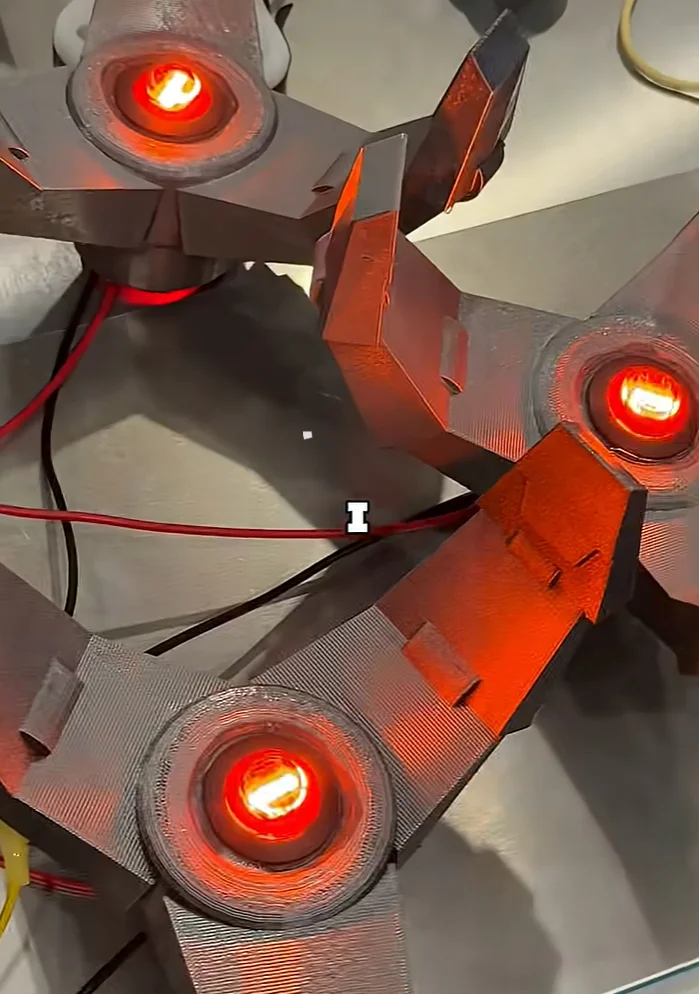
So, I stepped away from the bench and dove back into SOLIDWORKS to redesign all the joints that would run through the fiberglass rods. This redesign would let the arms flex without collapsing. While I was at it, I rebuilt the arm joints in SOLIDWORKS, incorporating those fiberglass rods to maintain the shape under load. I also added outer rings to smooth the motion and give the arms a more controlled look.
To up the cool factor, I decided to add two extra rings and print them in rubber. This meant I had to upgrade my setup with two brand-new 3D printers capable of multi-material printing. Then, for ten days straight, I printed the 240 different pieces I would need. But this is where everything starts. Because how do I actually mount this to my back?
The Back Plate Became the Bottleneck
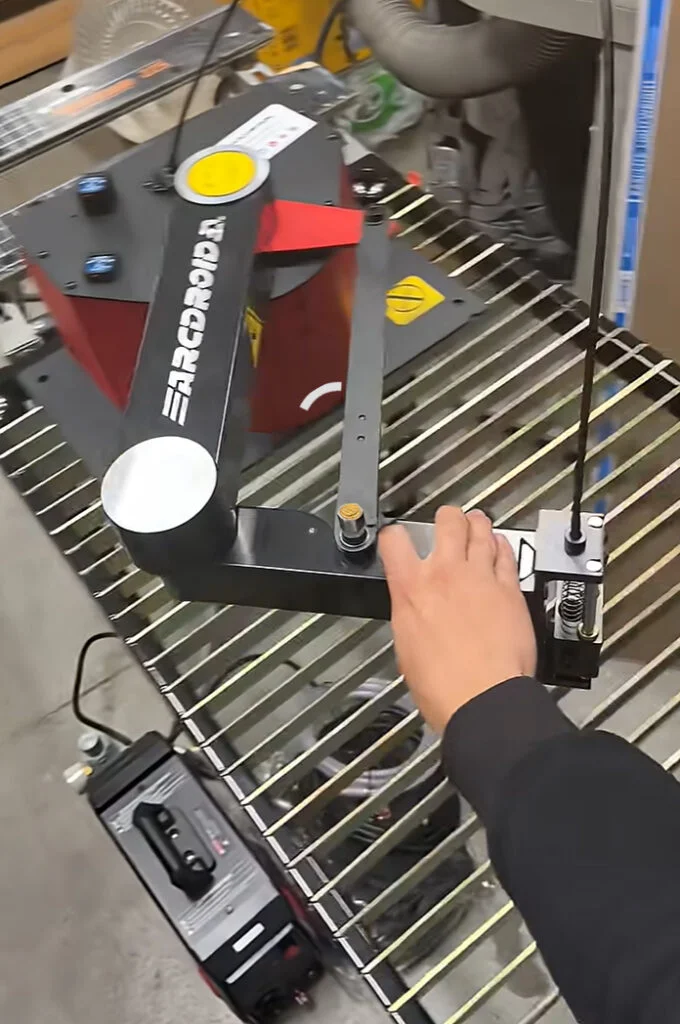
I started working on a 2D design for a back plate to mount everything to and set up my new plasma cutter to cut it out of steel. I got the motors mounted and attached this metal plate to guide the strings so they wouldn’t tear apart the bottom joint. But when I finally tested it, there was way too much friction, and I ended up destroying two of the motors.
So, I picked up some new materials to try and rethink the base. I raised the arms a little higher to let the Kevlar rope run through without friction, and eventually got everything moving. I still needed to take apart and reassemble the three other arms, glue everything together, and paint. This part took forever.
Once I finally mounted everything on the new plate and secured all the electronics, I was ready to test it out.
The Claws Don’t Work
Unfortunately, there was another problem. The claws wouldn’t work, and I wanted to see how much this thing can actually lift. When I looked online, most of the claws available online could only lift a couple of pounds. Not to mention they’re also ridiculously expensive and don’t really look like Doctor Octopus.
That’s when I decided to dive back into SOLIDWORKS to try to create the world’s strongest claw. I’ve spent over 80 hours just learning and practicing SOLIDWORKS for this project, and I’m starting to get pretty good. Each redesign made the next one faster. Each failure removed another unknown. At this point, the project stopped being about finishing something quickly and became about building something correctly.
Using CAD for Hobby and Cosplay Builds
If you are working on projects that need to move, carry a load, or survive real use, bringing CAD into your design process can really make a difference. It’s often the key to actually solving issues, rather than just putting a band-aid on them.
If you’re interested in what you could create with professional CAD tools for your personal projects, check out SOLIDWORKS for Makers.
You can get 20% off SOLIDWORKS for Makers if you head to my YouTube channel – see the links in my profile!
As for the Doc Ock claws, they’re still in the works. What I have in mind for this project is wilder than anything I’ve shown so far. I’ll keep you posted once the claws are up and running!
Check out Tyler on YouTube, Instagram, and TikTok.