

Here’s a feature that you might not use too much (or even know about). The “Fill Pattern” patterns a feature or a predefined cut shape in a defined area. This is great for weight reduction or ventilation.
In the image below, you can see that you can pattern selected features or create a seed cut. The seed cut has the 4 predefined shapes that are created on the fly. You just need to specify the size of the seed and it can take care of the rest.

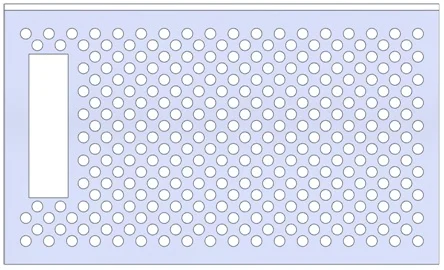
You can specify the “buffer zone” or “margins” that form a boundary around the pattern. That is the area of clearance around any of the edges. In the image below you can see the holes are no closer than 0.25? to the model edges. This option is set in the “Pattern Layout” and is the third box down.
That’s great, but what if you only want the pattern in a certain area and there are no model edges around? Well all you need to do is create a closed sketch and select just the sketch and NOT the face. You don’t need to split the face with the sketch.
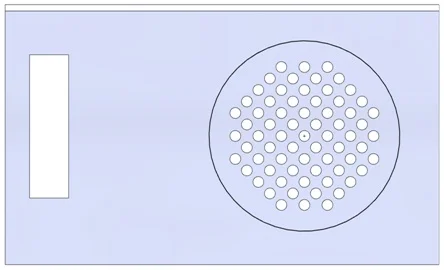
If you would select both the face and the sketch, it will create the fill pattern on the face and NOT inside the sketch.
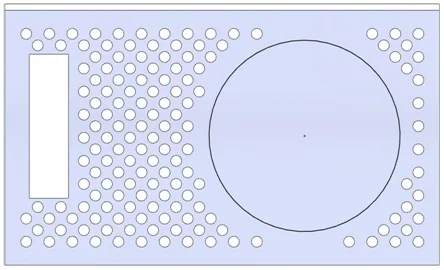
*The large circle is just a sketch that is shown and not a model edge.
The fill pattern was added in 2006 and hopefully will help you be more productive!
***
Josh Spencer is an Application Engineer at 3DVision Technologies, a SolidWorks Value Added Reseller with locations across Ohio, Indiana, and Kentucky. He is a regular contributor to 3DVision Technologies’ Blog where you will find new ideas to improve your productivity with SolidWorks.